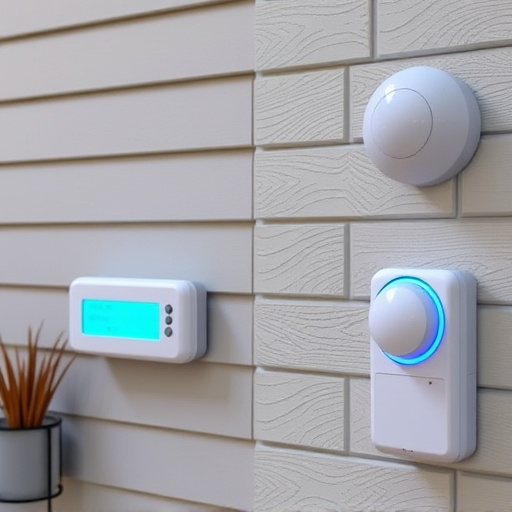
Strategic camera placement is key to an effective DIY home alarms system, focusing on entry points, valuable assets, and potential access areas with clear views, good lighting, and minimal obstructions. Position cameras at a slight downward tilt for optimal image clarity, capturing license plates and intruder details without personal data. Ensure compliance with local privacy laws near windows and consider nearby landscaping impacts.
“Enhance your home’s security with a DIY approach using security cameras. This comprehensive guide walks you through every step of installation, from choosing the perfect location for optimal coverage to setting up your system and integrating it into your smart home. Learn about crucial factors like camera placement, necessary tools, troubleshooting common issues, and testing procedures. Discover how to maintain and maximize the effectiveness of your DIY home alarms for enhanced peace of mind.”
Choosing the Right Location for Your DIY Home Alarms
When installing DIY home alarms, selecting the optimal location is paramount. Choose spots that offer clear and unobstructed views of entry points, such as doors and windows. Positioning cameras near these areas ensures comprehensive coverage, allowing you to monitor access points around your house. Consider areas with good lighting too; well-lit locations enhance video quality, making it easier to identify visitors or potential intruders.
Think about the whole perimeter of your home—not just the front. Back and side doors, as well as garages, are equally important. Strategically placing cameras at these points creates a multi-layered security system. Additionally, keep in mind any blind spots that could be created by trees, bushes, or other obstructions. Adjusting their placement or trimming foliage can improve camera visibility, ensuring your DIY home alarms offer maximum protection.
– Factors to consider when selecting camera placement
When setting up a DIY home security system, choosing the right camera placement is key. Consider factors like lighting and obstructed views—good visibility ensures clear footage day or night. Look for areas with consistent movement, such as entrances, windows, or valuable asset locations, as these spots offer the most potential for detecting unusual activity. Also, ensure you comply with local privacy laws regarding surveillance, especially when placing cameras near windows or common areas visible from outside.
Nearby landscaping and structural features can impact camera performance. Avoid excessive tree foliage or overhanging branches that might obstruct the lens, ensuring consistent field of view. Additionally, consider the angle; positioning cameras at a slight downward tilt helps capture license plates and intruder details without capturing your own headshots. A strategic placement network can turn your home into an armed fortress, enhancing security with your DIY home alarms system.
– Ideal spots for optimal coverage and clear footage
When installing DIY home security cameras, positioning them strategically is key for achieving optimal coverage and clear footage. Ideal spots include entryways, windows, and areas around valuable assets or potential points of access, such as doors leading to garages or backyards. Placing cameras in these locations ensures comprehensive monitoring of your property.
Consider factors like lighting, obstacles, and angle when choosing camera positions. Well-lit areas are ideal for clear images, while avoiding placement behind large trees or structures that could block the camera’s view. Mounting cameras at a slight downward angle can help capture license plates or faces entering through doors or windows, enhancing the effectiveness of your DIY home alarms system.