DIY home alarm systems offer an affordable and customizable solution for homeowners seeking enhanced protection. By selecting high-quality equipment from reputable brands, strategically installing cameras and sensors, and configuring alerts via user-friendly apps, you can create a robust network that monitors your property, deters intruders, and saves on professional services. This guide provides a step-by-step approach to installing and optimizing a DIY home alarm system for comprehensive security.
“Enhance your home’s security with a DIY approach using modern, affordable technology. This comprehensive guide walks you through the process of installing your own security camera system, offering a cost-effective alternative to professional services. From understanding the basics of DIY home alarm systems to choosing the right equipment and following a step-by-step process, this article equips you with the knowledge to protect your home efficiently.”
Understanding DIY Home Security Camera Installation
DIY home security camera installation is a popular choice for homeowners looking to enhance their home’s safety and peace of mind. It offers a cost-effective solution compared to professional services, allowing you to take control of your security system. With the vast array of cameras and accessories available, you can design a comprehensive network tailored to your specific needs.
Understanding DIY installation involves grasping basic electrical skills, routing cables through walls or ceilings, and mounting cameras at strategic locations. Many modern systems come with user-friendly apps, making setup straightforward. You can choose from various types, such as wireless cameras, hardwired models, or even outdoor-specific options, each offering unique features and benefits. This do-it-yourself approach empowers you to monitor your home’s activity, deter potential intruders, and respond quickly to any alerts, all while potentially reducing costs.
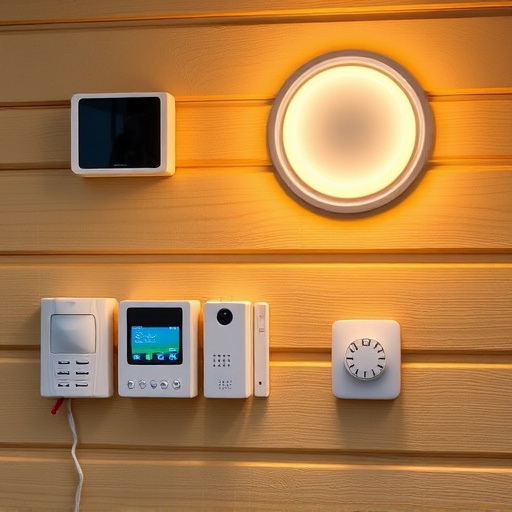
Choosing the Right Equipment for Your DIY Alarm System
When creating a DIY home alarm system, selecting the appropriate equipment is paramount for its effectiveness and your peace of mind. Start by assessing your property’s unique needs. Consider factors such as the size of your home, number of entry points (doors and windows), and specific areas you wish to monitor. For instance, you might need more cameras for a larger house or additional motion sensors for areas with frequent foot traffic.
Research different types of security equipment, including cameras, motion detectors, door/window contacts, and panic buttons. Look for products that offer high-resolution video quality, reliable motion detection, and easy integration. Many modern DIY alarm systems come with user-friendly apps, allowing you to monitor and control your setup remotely via your smartphone or tablet. Ensure compatibility among devices and choose brands known for their durability and security features to create a robust DIY home alarms network.
Step-by-Step Guide to Installing a DIY Home Security Camera System
Installing a DIY home security camera system can be a cost-effective way to enhance your home’s protection. Here’s a step-by-step guide to help you navigate this process:
1. Choose the Right Location: Select strategic spots around your property, such as entrances, exits, and areas prone to activity. Ensure these locations have adequate power outlets and internet connectivity for optimal camera performance. Consider factors like lighting and obstructions that might affect camera views.
2. Select and Mount Cameras: Pick high-quality cameras suitable for outdoor or indoor use, depending on your needs. Use mounting hardware provided with the system to securely attach cameras at the chosen locations. Ensure they offer clear, unobstructed views of the areas you wish to monitor.
3. Connect Cameras to a Central Hub: Most DIY systems have a central hub that acts as a command center for all your cameras. Plug in each camera using the included cables and follow manufacturer instructions to connect them to the hub. Verify internet connectivity by testing video feed from each device.
4. Configure the System Software: Access the system’s mobile app or web interface to set up alerts, scheduling, and privacy settings. Define trigger events for notifications, like motion detection or door/window openings. Ensure encryption is enabled to protect your footage from unauthorized access.
5. Test and Fine-Tune Settings: Test each camera’s sensitivity and field of view to ensure accurate detection without false alarms. Adjust settings as needed based on real-time testing and observe the system’s performance for a few days to make any necessary fine-tunings.