Optimizing DIY home alarms involves strategic placement. Focus on clear line-of-sight areas, particularly doors and windows, and position cameras in high-traffic zones. Address blind spots for robust defense. For cameras, consider lighting, navigate obstacles, prioritize entry points, ensure wide fields of view without overlap, respect privacy, and maintain comprehensive coverage with internal and external cameras adjusted for optimal visual perspective. Regularly review feeds for complete coverage.
“Elevate your home’s security with a DIY approach to camera installation! This comprehensive guide navigates the process of setting up an effective alarm system. From selecting the perfect spots for optimal coverage to unboxing and configuring hardware, we’ll walk you through every step. Learn how to integrate motion detection, set up cloud storage, and troubleshoot common issues. By following these practices, you’ll harness a reliable DIY home alarms system tailored to your needs.”
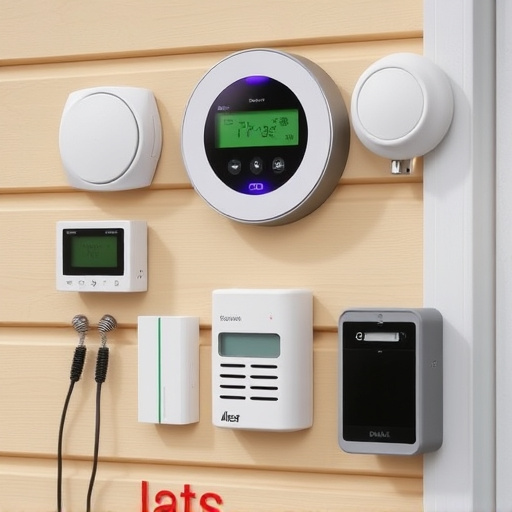
Choosing the Right Location for Your DIY Home Alarms
When installing DIY home alarms, selecting the optimal placement is key to effective security. Consider areas that offer clear line-of-sight and cover crucial entry points like doors and windows. Strategically positioning cameras in these zones ensures comprehensive surveillance of your home’s perimeter.
Think about high-traffic areas, such as front doors or garage entrances, where unexpected visitors might approach unnoticed. Additionally, look for blind spots that traditional security systems might overlook. By carefully choosing locations with good visibility, you create a robust defense against potential intruders, giving you peace of mind and enhanced home protection.
– Factors to consider when selecting camera placement
When installing DIY home security cameras, choosing the right location is key. Consider factors like lighting – good illumination aids camera visibility – and obstacles that might block the view, such as trees or large furniture. Proximity to entry points is also vital; strategically placing cameras near doors and windows provides comprehensive coverage.
Additionally, think about the angle and field of view. You want the camera to capture a wide enough area without overlapping, ensuring no blind spots exist. Finally, ensure privacy concerns are addressed by positioning cameras responsibly, respecting neighbours’ views, and adhering to local laws regarding surveillance.
– Best practices for optimal coverage and clear views
When setting up DIY home security cameras, placement is key for optimal coverage and clear views. Position your cameras strategically to capture all entry points—front, back, and sides—of your property. Consider common areas like windows, doors, garages, and any other high-risk zones. Ensure each camera has a wide field of view, allowing it to monitor a significant portion of the area without overlapping too much, which can result in blind spots. Keep them at eye level or slightly elevated for the best visual perspective.
For effective surveillance, aim for a combination of internal and external cameras. Internal cameras should offer clear, high-definition video to monitor your home’s activities, while external ones should be weatherproof and capable of providing sharp images, even in low-light conditions. Regularly review your camera feeds and adjust the angles as needed to maintain complete coverage, ensuring no area is missed by your DIY home alarms system.