Solar-powered dummy cameras offer an eco-friendly and aesthetically pleasing home security solution. With a simple installation process, these cameras harness sunlight via solar panels, enabling independent operation without external power. They feature infrared night vision, discreet design, and advanced sensors for effective movement detection while preserving privacy. Regular cleaning and battery monitoring ensure optimal performance. Basic troubleshooting or consultation with the manufacturer's support team can address any issues.
“Uncover the benefits of Solar-Powered Dummy Cameras with Infrared Night Vision for enhanced home security. This comprehensive guide explores their unique advantages, from eco-friendly power sources to superior low-light performance. We delve into the installation process, offering a step-by-step approach to ensure optimal placement. Learn about maintenance, troubleshooting tips, and discover why these cameras are a game-changer in outdoor surveillance. Enhance your property’s security with this efficient and effective solution.”
- Understanding Solar-Powered Dummy Cameras
- Benefits of Infrared Night Vision Technology
- Installation Process: A Step-by-Step Guide
- Maintenance and Troubleshooting Tips
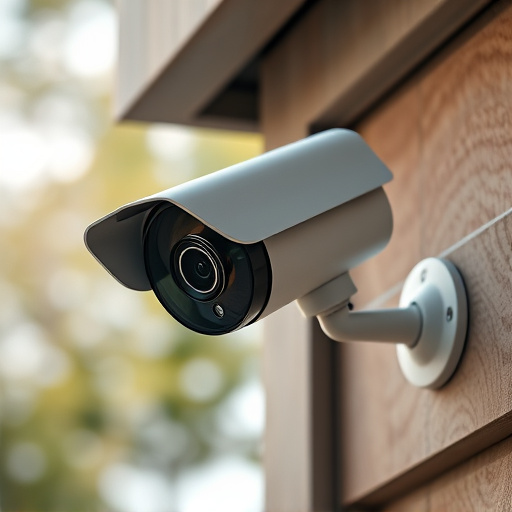
Understanding Solar-Powered Dummy Cameras
Solar-powered dummy cameras are an innovative and eco-friendly option for home security surveillance, especially in areas with ample sunlight exposure. These cameras utilize the power generated by solar panels, which capture the sun’s energy during daylight hours and store it in a rechargeable battery. This means they can operate independently without the need for an external power source, making them highly convenient and cost-effective. The installation process is straightforward; typically, you’d place the camera outdoors in a location with direct sunlight, attach the solar panel to it, and ensure proper alignment. Over time, as the camera draws power from the sun, it becomes a reliable, long-term solution for monitoring your property at night without requiring any additional wiring or electricity connections.
This type of camera is particularly useful for those seeking a discreet, low-maintenance security system. The solar panel acts as an inconspicuous element, blending in with the surroundings, while the infrared night vision ensures clear imagery even in complete darkness. This technology is a game-changer for homeowners who want to enhance their property’s security without compromising aesthetics or budget.
Benefits of Infrared Night Vision Technology
Infrared night vision technology offers a range of benefits, especially for security and surveillance systems like solar-powered dummy cameras. One of the key advantages is its ability to provide clear, detailed images in complete darkness, making it an invaluable tool for round-the-clock monitoring. Unlike traditional visual systems that rely on ambient light, infrared technology captures heat signatures, allowing for effective night-time observation without any artificial lighting requirements.
This feature makes solar-powered dummy cameras with infrared capabilities particularly attractive for outdoor installations where natural light is limited. The sensors can detect and record movements or activities even in the deepest of nights, ensuring a comprehensive security network. Additionally, the technology offers enhanced privacy as it captures only heat signatures, making it difficult to identify individuals, thus adding another layer of discretion to surveillance efforts.
Installation Process: A Step-by-Step Guide
The installation process for a solar-powered dummy camera with infrared night vision is straightforward and can be completed in just a few simple steps. First, locate the ideal position for your camera, ensuring it’s somewhere visible yet discreet, like on a fence or pole in your yard. Next, carefully remove the camera from its packaging, taking note of any included accessories such as screws or mounting hardware.
Use the provided instructions to attach the solar panel to the camera body, making sure they align properly for optimal sun exposure. Once secure, mount the camera at the desired height, ensuring it has a clear view of the area you wish to monitor. With all components in place, simply connect the camera to its power source – typically a nearby solar battery or charger – and test its functionality.
Maintenance and Troubleshooting Tips
Proper maintenance is key to keeping your solar-powered dummy camera in top condition, ensuring optimal performance and a longer lifespan. Regularly clean the lens with a soft cloth to prevent any obstructions or haze. Check the battery levels and ensure the solar panel is unobstructed, allowing maximum sunlight exposure for efficient charging.
When troubleshooting issues, start with simple checks like confirming the camera’s power source – ensure it’s plugged in (if applicable) and the solar panel is functioning correctly. Review the image settings and ensure they are optimized for night vision, especially during different seasonal light conditions. If all else fails, consult the manufacturer’s manual or reach out to their support team, keeping your installation details handy for a swift resolution.
Solar-powered dummy cameras with infrared night vision offer a versatile and efficient security solution. By harnessing solar energy, these devices provide a reliable power source, ensuring constant surveillance even in remote areas without access to traditional electricity. With their advanced infrared technology, they deliver crystal-clear nighttime visibility, enhancing safety and peace of mind. This article has guided you through the installation process, maintenance tips, and troubleshooting tricks, empowering you to set up your own solar-powered dummy camera system effectively.