Dummy camera brackets, visual deterrents that resemble real security cameras, can significantly reduce criminal activity by tricking intruders into thinking they're being monitored. Installation is straightforward, involving preparing the housing unit, choosing a visible location, gathering tools, and following the Dummy Camera Bracket Installation Guide's four-step process: select a spot, attach the bracket securely, position for realism, and test coverage.
“Uncover the power of enhancing security with an empty security camera housing unit—a versatile tool transforming your space. This comprehensive guide delves into the world of dummy camera brackets, offering a simple yet effective way to boost safety. From understanding these units’ utility to mastering their installation, we provide a detailed Dummy Camera Bracket Installation Guide. Prepare to navigate and secure your environment with this practical, cost-effective solution.”
- Understanding Empty Security Camera Housing Units
- Preparing for Dummy Camera Bracket Installation
- Step-by-Step Guide to Installing a Dummy Camera Bracket
Understanding Empty Security Camera Housing Units
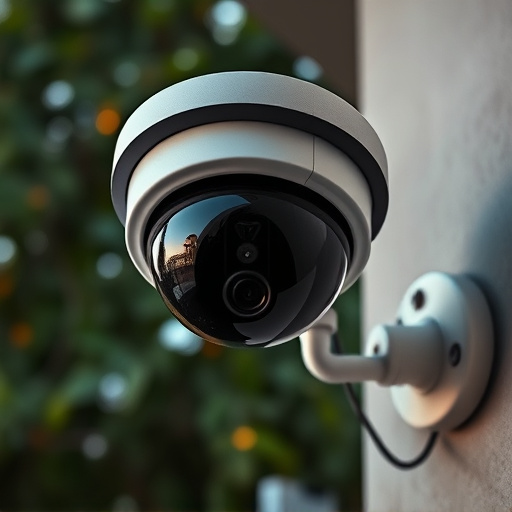
Empty security camera housing units, often referred to as dummy camera brackets or mock cameras, are an innovative solution for enhancing security in various settings. These devices serve as visual deterrents by resembling real security cameras, but without the actual recording capability. Understanding their functionality is crucial when considering implementation as part of a comprehensive security strategy. By strategically placing these dummy cameras around properties, businesses, or public spaces, potential intruders are tricked into believing they’re being monitored, thereby reducing the likelihood of criminal activity.
Installing empty camera housing units isn’t complex and can be accomplished through a straightforward Dummy Camera Bracket Installation Guide. This process involves mounting the bracket in visible locations where real security cameras might be placed. The brackets are designed to mimic the appearance of genuine cameras, complete with lenses and casing, making them an effective visual deterrent. This simple yet powerful tactic can significantly impact crime rates and provide a sense of safety for residents, employees, or patrons.
Preparing for Dummy Camera Bracket Installation
Before installing a Dummy Camera Bracket, it’s essential to prepare your security camera housing unit thoroughly. Begin by ensuring the housing is clean and dry, removing any debris or moisture that could interfere with the bracket’s secure attachment. Inspect the housing for any damage or wear, making repairs as needed to guarantee a stable mounting surface. Choose a suitable location for your dummy camera—a position that offers clear visibility and aligns with your security needs. Ensure the selected spot has adequate space for the bracket and can withstand environmental factors like wind and rain.
For a successful Dummy Camera Bracket Installation Guide, gather all necessary tools, including screws, washers, and any provided hardware. Double-check compatibility with your specific camera model and housing type. Create a level surface by adjusting the mounting plate or base of the bracket for precise alignment. This step is crucial to ensure your dummy camera appears correctly positioned and secure from a distance.
Step-by-Step Guide to Installing a Dummy Camera Bracket
Installing a dummy camera bracket is a straightforward process that can help enhance security and deter potential intruders. Here’s a step-by-step guide to ensure a successful Dummy Camera Bracket Installation:
1. Select the Right Location: Choose a spot where an actual security camera would be strategically placed, such as entrances, exits, or high-traffic areas. Ensure it’s visible enough to serve its purpose as a deterrent. Clean the area and prepare the surface for mounting, making sure it’s free from debris or residue.
2. Attach the Bracket: Securely fasten the dummy camera bracket to the chosen location using appropriate hardware, like screws or adhesive, depending on the bracket’s design and surface type. Ensure the bracket is level and firmly in place.
3. Position the Dummy Camera: Mount the dummy camera onto the bracket, ensuring it aligns correctly with the intended view. A quality dummy camera will mimic the appearance of a real one, providing maximum realism.
4. Test and Adjust: Verify that the camera is clearly visible from all angles and provides the desired coverage. Make any necessary adjustments to ensure optimal positioning.
Empty security camera housing units can be transformed into functional components of your property’s security system with the simple addition of a dummy camera bracket. This DIY installation guide has walked you through the process, from understanding the benefits to preparing your space and installing the bracket. By following these steps, you’ve now equipped yourself with the knowledge to enhance your property’s security and deter potential intruders, all while maintaining an aesthetically pleasing exterior. Remember, a well-informed and proactive approach to home security is key to keeping your loved ones and belongings safe.