Installing Dummy Dome Camera Systems offers a cost-effective, simple solution for bolstering security. Strategically place realistic mock cameras on walls or ceilings for deterring intruders, requiring minimal wiring. Before finalizing setup, ensure proper camera alignment and connectivity. Configure software to mimic real surveillance with virtual feeds and test motion detection features. Regularly optimize performance and update firmware for optimal functionality.
Installing a dummy dome camera system is an effective way to enhance security while saving costs on actual surveillance equipment. This comprehensive guide takes you through every step, from understanding the benefits of these systems and preparing your space, to configuring software and optimizing performance. By following this installation guide, you’ll be able to efficiently set up a realistic mock surveillance network, providing peace of mind without breaking the bank.
- Understanding Dummy Dome Camera Systems: Their Role and Benefits
- Preparing Your Space: Requirements and Physical Installation
- Configuring the Software: Setting Up Your Mock Surveillance Network
- Testing and Optimizing: Ensuring Effective Performance of Your Dummy System
Understanding Dummy Dome Camera Systems: Their Role and Benefits
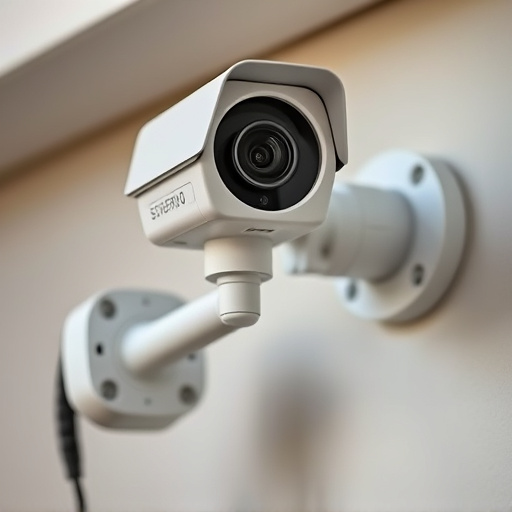
Dummy Dome Camera Systems are an innovative and cost-effective solution for those looking to enhance security without the hefty price tag of a full-scale surveillance setup. These systems, as the name suggests, involve the installation of realistic mock camera domes that look identical to real security cameras. But their role goes beyond mere aesthetics; they serve as active deterrents against potential intruders. By mimicking the presence of constant surveillance, these dummy cameras can significantly reduce crime rates and increase the overall safety of a property.
When it comes to Installing Dummy Dome Camera Systems, the process is surprisingly straightforward. They are designed to be easily mounted on walls or ceilings, providing a quick and efficient way to fortify security without extensive wiring or complex configurations. This accessibility makes them an attractive option for both residential and commercial spaces, allowing property owners to take control of their safety with minimal effort.
Preparing Your Space: Requirements and Physical Installation
Preparing your space for installing dummy dome camera systems involves understanding key requirements and physical setup steps. Firstly, ensure adequate coverage by choosing a layout that strategically places cameras at blind spots and potential entry points. This might involve mounting on walls or ceilings, depending on your security needs. Ensure electrical outlets are nearby to power the cameras, and consider internet connectivity for remote monitoring via your network or cloud services.
When physically installing, start by marking camera positions based on your design. Use level tools to ensure proper alignment. Mount the dummy dome cameras securely, utilizing brackets and screws provided. Verify each camera’s field of view aligns with intended surveillance areas. Test power connections and internet links to confirm seamless operation before finalizing the setup.
Configuring the Software: Setting Up Your Mock Surveillance Network
Configuring the software is a crucial step in setting up your mock surveillance network, especially when installing dummy dome camera systems. This process involves tailoring the system’s settings to mimic real-world security camera functionality. You’ll want to start by defining the network layout, assigning IP addresses to each camera, and configuring data transmission protocols. Many dummy camera systems come with user-friendly software that allows you to manage multiple cameras simultaneously, ensuring they operate in harmony within your simulated environment.
To create a realistic scenario, set up virtual feeds from these dummy cameras to a central monitoring station or recording device. This can be done through network sharing settings, enabling you to view live feeds and record footage just as you would with actual surveillance equipment. Remember to test the software’s capabilities, including motion detection, alarm triggers, and remote access, to ensure they function as intended, providing an authentic simulation for training purposes or testing security protocols.
Testing and Optimizing: Ensuring Effective Performance of Your Dummy System
After installing your dummy dome camera systems, it’s crucial to test and optimize their performance to ensure they function effectively as a mock surveillance system. Start by simulating real-world scenarios – check the camera’s field of view, ensuring objects or individuals are clearly visible within its range. Adjust settings for clarity, including resolution, brightness, and contrast, to mimic actual surveillance footage.
Next, assess response time. Ensure the dummy cameras react promptly to movements, triggering alerts or recordings as they would in a real setup. Test connectivity too – verify that signals are strong and consistent, with minimal lag or disruption. Regularly update firmware and software to optimize performance and keep up with technological advancements in dummy surveillance systems.
Installing dummy dome camera systems can significantly enhance security measures without the hefty cost and logistical challenges of real surveillance. By understanding their role, preparing your space, configuring software, and testing performance, you can create an effective mock surveillance network that serves as a powerful deterrent. This guide provides a comprehensive roadmap for successfully integrating these systems into any environment, ensuring peace of mind and improved safety.