Dummy dome cameras provide an affordable, discreet way to boost home security with their realistic appearance as surveillance equipment. Following a simple Dummy Dome Camera Installation Guide allows for easy mounting on walls, fences, or trees, offering wide-angle coverage and night vision. These wireless cameras are convenient and effective deterrents, especially when strategically placed near entry points. While lacking real-time monitoring, their presence can significantly enhance security without complex setups or high costs.
In today’s digital era, enhancing home security has become a top priority. One innovative solution gaining traction is the dummy dome camera—a sleek, passive surveillance device that discourages potential intruders without breaking the bank. This comprehensive guide, “Dummy Dome Camera Installation Guide,” explores the intricacies of understanding and implementing these cameras as a vital component of your home’s defense system. From choosing the right model to optimal placement strategies, we’ll walk you through the process step-by-step.
- Understanding Dummy Dome Cameras: Their Role in Home Security
- Choosing the Right Dummy Camera for Your Needs
- Step-by-Step Guide to Installing a Dummy Dome Camera
- Placement Strategies for Optimal Surveillance
- Benefits and Limitations: Uncovering the Truth Behind Dummy Cameras
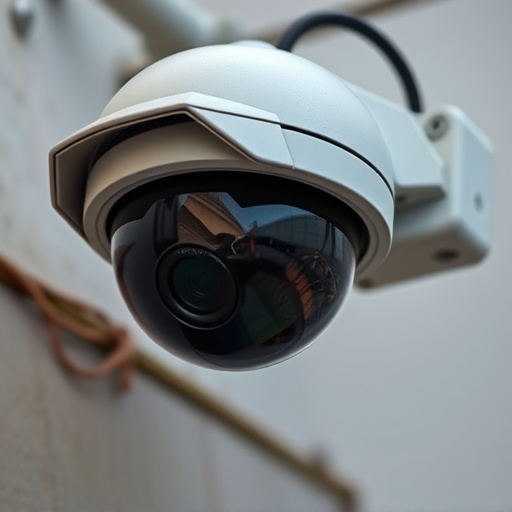
Understanding Dummy Dome Cameras: Their Role in Home Security
Dummy Dome Cameras are a popular choice for homeowners looking to bolster their security without breaking the bank. These cameras, designed to resemble real security cameras, serve as a powerful psychological deterrent against potential intruders. By strategically placing them around your property, you create the illusion of a fully-functioning surveillance system, making it less likely for criminals to target your home.
Installation is typically straightforward following a Dummy Dome Camera Installation Guide. Most models adhere to standard mounting practices, allowing you to install them on walls, fences, or even trees. Once in place, these cameras capture wide-angle views and often include night vision capabilities, ensuring around-the-clock monitoring. Their wireless design adds convenience, eliminating the need for messy cable installations.
Choosing the Right Dummy Camera for Your Needs
Choosing the right dummy camera involves understanding your specific security needs and preferences. Start by assessing your property’s layout, identifying areas that require surveillance, and considering factors like lighting conditions and potential blind spots. Opt for a dummy dome camera if you seek a subtle yet effective solution; these cameras blend seamlessly into your environment, often mimicking real security cameras.
A Dummy Dome Camera Installation Guide can be immensely helpful in ensuring proper placement and optimal performance. These guides typically cover essential steps such as mounting the camera at strategic locations, adjusting its field of view for comprehensive coverage, and connecting it to a reliable power source. With the right setup, dummy dome cameras offer peace of mind, deterring potential intruders while providing you with clear, high-quality footage for enhanced home security.
Step-by-Step Guide to Installing a Dummy Dome Camera
Installing a dummy dome camera is a straightforward process that can significantly enhance your home security. Here’s a step-by-step guide to help you through the process:
1. Choose the Ideal Location: Select a strategic spot for your dummy dome camera, such as near an entry point or in a visible area of your property. Ensure it has a clear view without obstructions to capture potential intruders effectively.
2. Unbox Your Camera: Carefully take out your dummy dome camera from the packaging. You should find the camera body, mounting hardware, and possibly an instruction manual inside. Familiarize yourself with these components before beginning installation.
3. Prepare the Mounting Surface: Clean and prepare the surface where you plan to mount the camera. This could be a wall or a pole. Use appropriate tools to ensure the surface is secure and ready for the camera’s mounting hardware.
4. Attach the Camera Base: Secure the camera’s base to the mounting surface using screws or adhesive, depending on your setup. Ensure the base is firmly in place before moving forward.
5. Position the Dome: Carefully lift the dummy dome and attach it to the camera body. Aligned correctly, the dome should cover the lens perfectly, making it appear like a real security camera.
6. Connect and Power Up: Follow your camera’s instructions to connect it to a power source. Most modern dummy cameras are wireless but require a power supply for optimal performance.
7. Configure Settings (if applicable): Some advanced models may offer app-based configurations or motion detection settings. Tailor these to suit your security needs, ensuring you have the best possible protection.
Placement Strategies for Optimal Surveillance
When setting up a dummy dome camera for home security, strategic placement is key to achieving optimal surveillance. Mounting it in a visible location acts as a powerful deterrent to potential intruders, as it conveys that your property is under watchful eyes. The ideal position would be at eye level or slightly elevated, offering a clear view of the entranceways, windows, and common areas of your home. This placement ensures that the camera captures high-quality footage without any obstructions from trees, signs, or other structures.
A Dummy Dome Camera Installation Guide recommends considering angles and fields of view to maximize coverage. Pointing the camera towards main entry points, such as front doors, garage doors, and windows accessible from the street, is a best practice. Additionally, positioning the device in areas where it can capture license plates or distinct features of visitors will aid in identifying unfamiliar faces. By following these placement strategies, you enhance your home security system’s effectiveness while maintaining an aesthetically pleasing appearance.
Benefits and Limitations: Uncovering the Truth Behind Dummy Cameras
Dummy cameras, also known as fake or decoy cameras, offer a unique security solution with both advantages and drawbacks. One of their key benefits is the deterrence factor; potential intruders may think twice before attempting any illegal activities when they see an active camera, even if it’s not recording. This simple visual deterrent can significantly improve home security without the need for extensive installation processes or ongoing monitoring costs.
However, these cameras have limitations. While they mimic real surveillance equipment, they don’t provide actual video footage or real-time alerts. True security systems offer recordings and instant notifications, ensuring you’re always aware of any suspicious activity. Moreover, dummy dome cameras might attract attention from curious onlookers who may think they are genuine, potentially reducing their effectiveness as a deterrent in certain situations. Nonetheless, for those seeking an affordable, low-maintenance option to enhance home security, dummy dome camera installation can be a practical choice.
A dummy dome camera, while not a physical deterrent like traditional security systems, offers a cost-effective and aesthetically pleasing way to enhance your home’s security. By strategically placing these cameras and ensuring proper installation, as outlined in our Dummy Dome Camera Installation Guide, you can significantly improve surveillance without breaking the bank. Remember, understanding both the benefits and limitations of dummy cameras is crucial for effective home protection, giving you peace of mind in today’s digital era.