The Solar Powered Dummy Camera Setup offers an eco-friendly, cost-effective security solution with advanced surveillance technology. It operates on sunlight captured by a built-in solar panel, providing continuous monitoring during daylight hours. The weatherproof camera features a realistic design and motion sensor to capture high-resolution images or videos of movement, deterring intruders and offering crucial evidence. Installation involves unpacking, choosing a sunny location, mounting the panel, attaching the camera, connecting cables, and setting internal batteries. The LED light indicates active recording (red) or standby mode (green). Ideal for homeowners and businesses, these setups reduce costs, minimize environmental impact, require no complex wiring, and are easily maintainable with strategic sunlight placement.
“Unleash the power of solar energy and enhance your outdoor security with the innovative Solar Powered Dummy Camera Setup. This article provides a comprehensive guide to installing and understanding this smart device. From its simple step-by-step installation process to the benefits it offers, we’ll explore why these cameras are a game-changer for home security. Discover how the red blinking light not only serves as an effective deterrent but also provides valuable insights into your property’s safety.”
- Solar Powered Dummy Camera: An Overview
- Installation Process Step-by-Step
- Benefits and Considerations for Outdoor Security
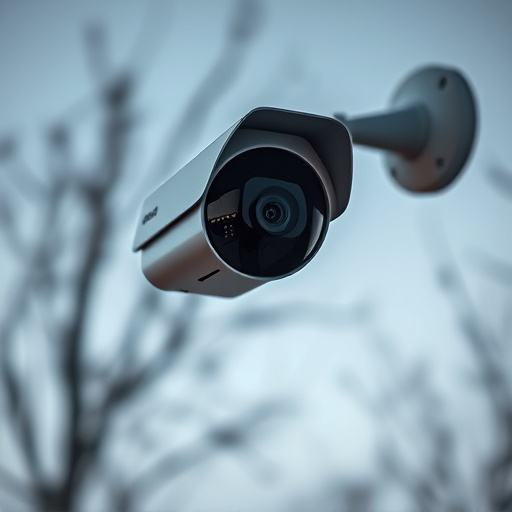
Solar Powered Dummy Camera: An Overview
A Solar Powered Dummy Camera is a innovative security solution that combines the benefits of solar energy with advanced surveillance technology. This setup offers a sustainable and cost-effective way to monitor your property, making it an attractive option for homeowners looking to enhance their home security. The camera operates solely on sunlight, harnessing its power through a built-in solar panel. During the day, the panel charges the internal battery, ensuring continuous operation even without grid electricity.
The Solar Powered Dummy Camera Setup typically consists of a weatherproof housing, a simulated lens, and a motion sensor. The housing is designed to resemble an actual camera, often featuring a red blinking light to deter potential intruders. Once activated by movement, the camera captures high-resolution images or videos, providing crucial evidence in case of any security breaches. This setup is ideal for deterring theft, vandalism, or unwanted intrusions, offering peace of mind and enhanced property protection.
Installation Process Step-by-Step
Installation Process Step-by-Step
Begin by removing the packaging and carefully unpacking your solar-powered dummy camera setup. Ensure all components, including the camera, solar panel, and mounting hardware, are present and undamaged. Next, choose a suitable location for installation—ideally, an area with direct sunlight access for optimal energy generation. Mount the solar panel on a stable, level surface, orienting it to face south (in the Northern Hemisphere) or north (in the Southern Hemisphere) for maximum sun exposure.
Attach the camera securely to the mounting hardware, ensuring its stability and alignment with the desired surveillance area. Connect the solar panel to the camera using the provided cables, then set up the internal batteries following the manufacturer’s instructions. Once connected, verify power transfer by switching on the device. The LED light should turn red, indicating it’s actively recording or in standby mode, ready to capture motion-activated events during daylight hours, powered entirely by the sun.
Benefits and Considerations for Outdoor Security
A Solar Powered Dummy Camera Setup offers numerous benefits for outdoor security, making it an attractive option for homeowners and business owners alike. One of its key advantages is eco-friendliness; solar power reduces operational costs and reliance on traditional energy sources, contributing to a greener environment. These camera setups are also highly convenient, as they can be easily installed without the need for complex wiring, ensuring quick deployment and minimal disruption to landscapes or structures.
Considerations for outdoor security with solar dummy cameras include placement and lighting conditions. Optimizing sunlight exposure is crucial for efficient power generation, so strategic positioning near windows, gates, or other areas with ample daylight is essential. Additionally, while these cameras are durable, regular maintenance checks are recommended, especially in varying weather conditions, to ensure optimal performance and longevity.
A Solar Powered Dummy Camera Setup offers a reliable and eco-friendly outdoor security solution. By following the simple installation process outlined in this article, you can easily enhance your home or business’s security without breaking the bank. The benefits of these cameras far outweigh their costs, ensuring peace of mind and added protection for your property. Consider their strategic placement to maximize coverage and take advantage of the renewable energy source – the sun – for a truly sustainable security system.