For optimal low-light performance with pinhole cameras, target areas with natural cover and reduced line-of-sight exposure like windowsills, corners, furniture backs, ceilings, and walls adjacent to windows. Use infrared technology for complete darkness surveillance. Creative concealment techniques like one-way mirrors or hollow objects hide cameras undetected. Adjust lens apertures, shutter speeds, and settings based on lighting conditions. Regular maintenance ensures optimal performance.
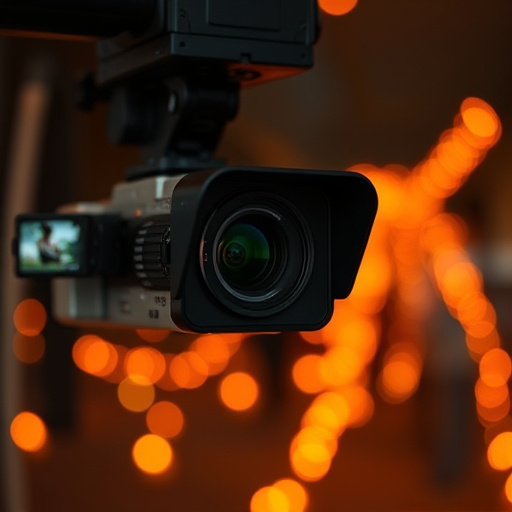
Discover the art of discreet surveillance with pinhole camera installation. This guide explores optimal locations, especially in low light conditions, for effective hidden cameras. Learn creative concealment strategies to integrate these devices seamlessly into your environment. From best practices for installation to tips on leveraging low light, this article equips you with knowledge to harness the power of pinhole cameras, making them virtually invisible yet highly effective.
- Best Locations for Discreet Pinhole Camera Placement
- Leveraging Low Light: Tips for Optimal Visibility
- Creative Concealment Strategies for Hidden Cameras
- Ensuring Effective Pinhole Camera Installation Practices
Best Locations for Discreet Pinhole Camera Placement
When it comes to best locations for discreet pinhole camera placement, the key is to look for areas that offer natural cover and low light conditions – ideal environments for capturing clear, detailed footage without drawing attention. Windowsills, corners of rooms, and behind furniture are popular choices as they provide a ready-made barrier from direct line-of-sight while allowing ample light penetration. Ceilings and walls near windows also work well, offering a bird’s eye or peripheral view with minimal exposure. For best results with hidden cameras in low light conditions, consider using infrared technology to ensure clear imaging even in complete darkness.
Leveraging Low Light: Tips for Optimal Visibility
When installing a pinhole camera, one of the most unique advantages it offers is its ability to capture clear images even in low light conditions. This makes them ideal for discreet surveillance, especially in areas where natural or artificial lighting might be limited. To leverage low light effectively, consider positioning your camera near windows or sources of diffuse light, such as lamps or dimly lit corners. These setups allow the camera’s lens to gather more light without introducing excessive glare, resulting in clearer and more detailed footage.
Additionally, adjusting the exposure settings is crucial. Experiment with longer shutter speeds to capture more light without overwhelming the sensor. Just be mindful of the potential risk of motion blur if the subject or camera moves during the exposure. Using a tripod can mitigate this issue and ensure steady, crisp images. Remember, in low light conditions, smaller apertures (higher f-stop numbers) are beneficial for gathering as much light as possible while maintaining image quality.
Creative Concealment Strategies for Hidden Cameras
When installing a pinhole camera, one of the key considerations is its concealment. The best hidden cameras for low light conditions often rely on innovative strategies to blend into their surroundings, capturing footage discreetly. Creative concealment can be achieved through careful selection of installation locations and the use of specialized equipment.
For instance, mounting a pinhole camera behind a one-way mirror or within a hollow object like an electrical box can provide both camouflage and optimal viewing angles. These methods allow for unobtrusive observation while ensuring the camera remains undetected. Additionally, utilizing infrared technology enables these cameras to capture high-quality footage in low light environments, further enhancing their effectiveness as discreet surveillance tools.
Ensuring Effective Pinhole Camera Installation Practices
When setting up a pinhole camera, especially for surveillance purposes, proper installation practices are key to achieving effective results, particularly in low light conditions. The goal is to capture clear, detailed images while maintaining discretion. One of the best hidden cameras, designed for low light situations, should be chosen based on its sensitivity and image quality. Positioning the camera strategically—in a location that offers unobstructed view yet remains out of sight—is essential. Consider environments with natural lighting or utilize infrared technology to enhance visibility in dim settings.
To ensure optimal performance, the lens aperture should be well-suited for low-light capture. Smaller apertures allow for more light entry but may require longer exposure times. Testing various installation spots and adjusting the camera’s settings accordingly can significantly improve image clarity. Regular maintenance, such as cleaning the lens and checking batteries or connections, is also crucial to sustaining effective pinhole camera functionality.
In conclusion, pinhole camera installation offers a discrete and effective surveillance solution. By strategically placing your hidden cameras in optimal locations, leveraging low light conditions, and employing creative concealment techniques, you can capture high-quality footage while maintaining secrecy. Following the best practices outlined in this article will ensure your pinhole camera system provides reliable insights, making it an ideal choice for enhancing security in various settings, especially during low light conditions.