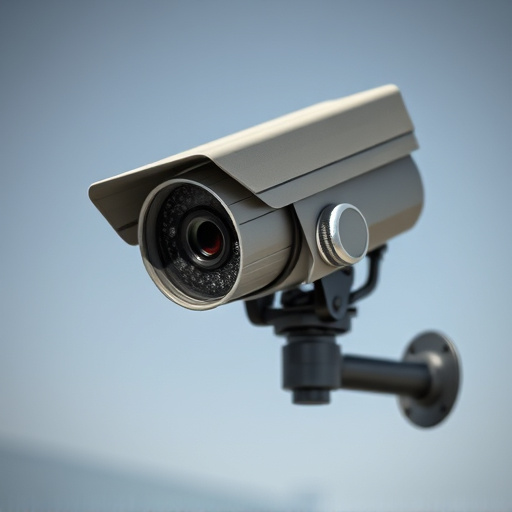
Installing Dummy Dome Camera Systems requires understanding their unique crime deterrent purpose and evaluating features like realistic design and motion detection. Proper preparation includes strategic camera placement, power sources, and weather resistance for optimal deterrence. Secure mounting on stable surfaces with strategic positioning ensures comprehensive coverage. Post-installation involves configuring settings and testing for clear footage and accurate data transmission, recreating actual surveillance conditions.
Installing a mock surveillance system, complete with dummy dome cameras, is an effective way to enhance security without the cost of a full-scale setup. This comprehensive guide walks you through every step of the process, from understanding your camera requirements and preparing your space, to mounting and positioning for optimal coverage. Learn how to configure and test your system, ensuring a secure and efficient installation of dummy dome cameras.
- Understanding Dummy Dome Camera Requirements
- Preparing Your Space for Installation
- Mounting and Positioning the Dome Cameras
- Configuring and Testing the Mock Surveillance System
Understanding Dummy Dome Camera Requirements
When planning an Installing Dummy Dome Camera System, understanding the requirements for dummy dome cameras is crucial. These artificial surveillance devices are designed to mimic real security cameras, but they serve a different purpose—deterring crime and providing a false sense of security. Key considerations include placement, power sources, and weather resistance, as these factors directly impact the system’s effectiveness.
Selecting the right dummy dome camera requires evaluating features like realistic design, motion-activation capabilities, and low-light performance. Ensure that the chosen cameras align with your property’s needs, whether it’s a residential home or a commercial building. By understanding these requirements, you can make informed decisions when purchasing and installing dummy dome camera systems for optimal deterrence and peace of mind.
Preparing Your Space for Installation
Before installing your dummy dome camera systems, preparing your space is a crucial step. This involves assessing the location where the cameras will be placed and ensuring it aligns with the requirements for optimal surveillance. Clear the area of any obstructions that might interfere with the camera’s view or cause physical damage during installation. This could include moving furniture, cleaning the surface to be mounted, and ensuring adequate space around the camera for ventilation.
Consider the lighting conditions as well; dummy dome cameras typically require clear lines of sight for accurate footage. If natural light is insufficient, you may need to install additional lighting to meet the camera’s sensitivity needs. Proper preparation ensures a seamless installation process and enhances the overall effectiveness of your surveillance system.
Mounting and Positioning the Dome Cameras
When installing dummy dome camera systems, mounting and positioning the dome cameras is a critical step. Ensure each camera is securely mounted on a stable surface, typically on walls or ceilings, to mimic real surveillance setups. The positioning should consider strategic angles for optimal coverage, aligning with areas of interest within the monitored space.
For best results, maintain a consistent distance between cameras and the subject of interest, ensuring clear line-of-sight visibility without obstructions. Adjusting the camera’s tilt and pan capabilities allows for fine-tuning the view, capturing detailed footage from various angles. Proper mounting ensures the integrity of the mock surveillance system, enhancing its realistic appearance and functionality.
Configuring and Testing the Mock Surveillance System
After installing your dummy dome camera systems, the next step is configuring and testing your mock surveillance system. This involves setting up each camera’s parameters within the control software provided by the manufacturer. You will need to adjust settings like resolution, field of view, and motion detection sensitivity to match your desired specifications. Once configured, test each camera individually to ensure they are capturing clear footage and sending it to the central monitoring station accurately. This testing phase is crucial for identifying any issues before deploying the system in a real-world scenario.
Remember that installing dummy dome cameras is not just about physical setup; it’s also about fine-tuning the system to mimic actual surveillance conditions. By configuring and thoroughly testing your mock surveillance system, you can be confident that it will provide realistic training or evaluation environments for security personnel without the risks associated with live surveillance.
Installing a mock surveillance system, complete with dummy dome cameras, is a straightforward process that can greatly enhance security perceptions without the hefty cost of real surveillance. By understanding your space’s requirements, preparing your environment, strategically mounting and positioning the cameras, and configuring the system for optimal performance, you’ll create an effective yet cost-efficient security solution. Remember, proper installation and testing are key to ensuring the mock system serves its intended purpose as a credible deterrent to potential intruders.