A Dummy Dome Camera Installation Guide emphasizes strategic placement and realistic design for maximum security deterrence. It recommends positioning cameras in high-traffic areas with precise mounting angles, using authentic-looking synthetic shells that mimic real equipment, securing them firmly, and testing functionality thoroughly for effective surveillance.
Looking to enhance your home or business security with a realistic security camera shell? This comprehensive Dummy Dome Camera Installation Guide delves into everything you need to know. From understanding the basics of dummy dome cameras to choosing the perfect installation location, we cover it all. Learn essential design considerations for effective disguise and discover how to secure and test your realistic shell for optimal performance.
- Understanding Dummy Dome Camera Basics
- Choosing the Right Location for Installation
- Design Considerations for Effective Disguise
- Securing and Testing Your Realistic Shell
Understanding Dummy Dome Camera Basics
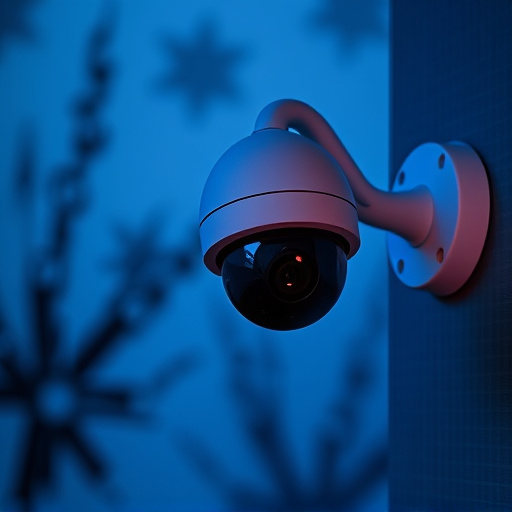
A Dummy Dome Camera, often referred to as a fake security camera, is a clever and cost-effective solution for enhancing security in various settings. These devices are meticulously designed to resemble real security cameras, fooling intruders and potential thieves into believing that your property is under constant surveillance. Understanding how these cameras work and their basic components is crucial when it comes to effective Dummy Dome Camera Installation Guide.
The key elements of a Dummy Dome Camera include the camera housing, which mimics the look of a traditional dome-shaped security camera, and an internal or external mock lens. The housing is typically made from high-quality materials like plastic or metal to ensure durability and realism. Some models also incorporate LED indicators that mimic the function of a real camera’s infrared lights. During installation, careful consideration of placement and angle is essential to make the fake camera appear as convincing as possible. This strategic positioning can significantly deter criminal activity by creating an illusion of heightened security.
Choosing the Right Location for Installation
When installing a dummy dome camera, selecting the optimal location is key. Consider high-traffic areas where potential threats are more likely to occur, such as entrances, exits, and common corridors. This strategic placement ensures maximum coverage and serves as a powerful deterrent to would-be intruders.
Incorporate discreetly placed cameras into existing infrastructure for an authentic look. The Dummy Dome Camera Installation Guide recommends aligning the camera’s field of view with potential blind spots or areas where regular surveillance might be lacking. This comprehensive guide offers detailed instructions on adjusting mounting angles and positioning for optimal security without compromising aesthetics.
Design Considerations for Effective Disguise
When designing a realistic security camera shell, especially for a dummy dome camera installation guide, the primary goal is to create an authentic look that blends seamlessly into its surroundings. This involves careful consideration of material choices and aesthetic details. High-quality synthetic materials like plastic or resin, with intricate molding, can replicate the appearance of glass or metal accurately. The texture should match the intended environment; for instance, a rough finish might suit outdoor settings while a glossy one could be more fitting for indoor spaces.
Color coordination is another crucial aspect. Cameras should ideally match the dominant colors in their surroundings to avoid attracting unwanted attention. Neutral tones like black, white, or gray are common choices, but you can also use subtle color variations to blend in with nearby objects. Additionally, consider incorporating realistic details such as logos or serial numbers commonly found on genuine camera equipment for an extra layer of authenticity.
Securing and Testing Your Realistic Shell
After crafting your realistic security camera shell, securing and testing it is paramount for a successful installation. Begin by mounting the shell firmly to a suitable surface, ensuring stability and alignment with your intended camera position. This step requires careful consideration of weight distribution and structural integrity, especially if using larger or more robust shells designed for outdoor environments.
Next, carefully install your dummy dome camera within the shell, following the manufacturer’s guidelines. Once in place, conduct thorough testing to ensure seamless operation. Check video feed quality, motion detection sensitivity, and any additional features like night vision. A Dummy Dome Camera Installation Guide can be a valuable resource for troubleshooting common issues and ensuring optimal performance. Remember, a secure and well-tested shell is the first line of defense against potential security breaches, providing peace of mind that your surveillance system functions as intended.
A realistic security camera shell can significantly enhance your home or business’s security while adding an aesthetic touch. By understanding the basics of dummy dome cameras, selecting the optimal installation location, considering design elements for effective disguise, and securing your shell properly, you’ve taken essential steps towards a comprehensive security setup. This Dummy Dome Camera Installation Guide ensures you’re prepared to safeguard your premises with style and subtlety.