Optimal placement of outdoor dummy cameras with red blinking lights is key for effective security. Position at eye level or slightly elevated, facing entry points, avoiding obstructions. Regularly adjust angles to maintain deterrence, balance surveillance and discretion using Outdoor Dummy Camera Angle Tips. Strategic placement alongside regular maintenance enhances longevity and effectiveness.
“Transform your security setup with the strategic placement of outdoor dummy camera red blinking lights. This guide offers a comprehensive journey through the process, from deciphering the blinking light’s meaning to optimizing its position for enhanced surveillance. We explore essential considerations for outdoor installation, providing tips on angle adjustments for both visible deterrence and discreet design. Learn how these cameras seamlessly integrate into existing security systems and discover maintenance routines to ensure longevity.”
- Understanding Dummy Camera Blinking Red Light
- Outdoor Setup: Essential Considerations for Placement
- Optimal Angle for Enhanced Surveillance & Discreet Design
- Integrating Dummy Cameras into Existing Security Systems
- Maintenance Tips for Longevity and Effectiveness
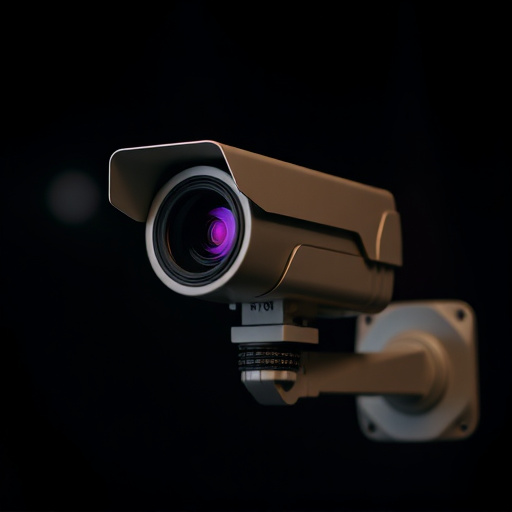
Understanding Dummy Camera Blinking Red Light
The red blinking light on an outdoor dummy camera is a crucial indicator for security and surveillance purposes. This feature, often referred to as a motion detection signal, helps users identify when the camera has activated in response to movement. Understanding this system can provide valuable insights into enhancing outdoor security.
When setting up your dummy camera, consider the angle and placement carefully. The red light’s visibility is essential; ensure it’s not obstructed by surrounding objects or structures. Optimal placement involves positioning the camera where it offers a clear view of entry points, such as doors, windows, or gates, allowing for effective monitoring. By utilizing outdoor dummy camera angle tips, users can maximize the effectiveness of this technology in deterring potential intruders and providing peace of mind.
Outdoor Setup: Essential Considerations for Placement
When setting up an outdoor dummy camera with a red blinking light, placement is key for optimal visibility and effectiveness. Consider the following outdoor dummy camera angle tips to make the most of your installation. Firstly, position the camera at eye level or slightly elevated to mimic natural line of sight, enhancing its realism. This reduces shadows cast on the device, making it more noticeable yet less obtrusive.
Secondly, orient the camera towards potential entry points or high-traffic areas like front doors, garages, or alleys. Ensure a clear view unobstructed by trees, shrubs, or other structures that could hide or block the camera’s line of sight. Regularly review and adjust your outdoor dummy camera angle tips as landscaping changes or seasons progress to maintain its effectiveness in deterring potential intruders.
Optimal Angle for Enhanced Surveillance & Discreet Design
When installing an outdoor dummy camera, understanding the optimal angle is key for effective surveillance and maintaining a discreet design. Aim to position the camera at eye level or slightly above, as this angle offers the best field of view while minimizing detection risks. Mounting it too low may expose sensitive components and alert potential intruders, whereas angling it too high can obscure important details in the frame.
A slight downward slope is ideal for capturing clear images, deterring would-be thieves, and ensuring privacy. This angle allows the camera to observe activities without appearing overly obtrusive. Additionally, aligning the lens horizontally ensures a level view, preventing distortions that could skew surveillance data and enhancing overall security measures.
Integrating Dummy Cameras into Existing Security Systems
When integrating outdoor dummy cameras into an existing security system, careful consideration of placement and angle is key. Strategically positioning these realistic-looking cameras can significantly enhance surveillance capabilities while maintaining a subtle presence. For optimal results, mount the dummy camera at a consistent height and angle with real cameras in the area to create a cohesive visual. This blend helps deter potential intruders, as it’s hard to distinguish between active and decoy devices.
Focus on areas with high visibility, such as entrances, windows, or valuable assets, and ensure the dummy camera’s red blinking light is visible but not overly conspicuous. This light mimics real-time activity, further reinforcing the system’s effectiveness without drawing unnecessary attention. By following these outdoor dummy camera angle tips, you can strengthen your security setup, providing peace of mind and enhanced protection for your property.
Maintenance Tips for Longevity and Effectiveness
Regular maintenance is key to ensuring your outdoor dummy camera red blinking light installation remains effective and lasts for years. Start by cleaning the camera gently with a soft, damp cloth to remove any dust or debris. This simple step prevents blockages in the lens or sensors, maintaining optimal performance.
When it comes to angle tips, positioning is crucial. Adjust the camera’s orientation to face strategic points around your property, aligning the red blinking light for maximum visibility. Regularly check and adjust these angles as seasons change and landscapes evolve, ensuring constant protection against potential intruders.
The installation of an outdoor dummy camera with a blinking red light offers a strategic solution for enhanced security and surveillance. By considering the optimal placement, angle, and integration with existing systems, as outlined in this guide, you can create an effective and discreet security setup. Regular maintenance ensures longevity, making these dummy cameras a valuable asset to any property’s defense strategy. Remember, the right outdoor dummy camera angle tips can significantly impact the system’s overall performance and discretion.