Outdoor dummy camera installation involves strategic location selection for clear visibility and motion detection, stable internet connection for wireless transmission, and power connectivity via cable or wireless charging. Key steps include assessing blind spots, verifying lighting and line of sight, configuring motion sensor settings with adjustable sensitivity levels, and fine-tuning through the user interface for optimal performance.
Wireless dummy cameras with motion sensors offer a sophisticated security solution for your home or business. This comprehensive guide delves into the world of outdoor dummy camera installation, providing essential steps from understanding basic functionalities to configuring sensitive motion sensor settings. Learn the art of choosing the perfect location, physically setting up your device, and testing its capabilities to ensure maximum protection.
- Understanding Wireless Dummy Camera Basics
- Choosing the Right Location for Outdoor Installation
- Step-by-Step Guide to Physical Setup
- Configuring Motion Sensor Settings and Testing
Understanding Wireless Dummy Camera Basics
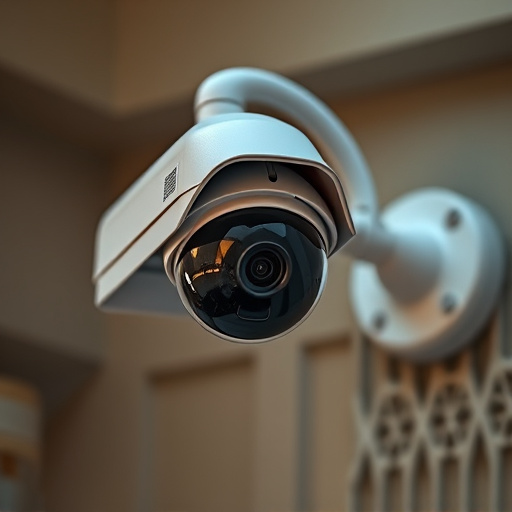
Wireless dummy cameras with motion sensors are a popular choice for home security, offering both peace of mind and advanced surveillance capabilities. To make the most of this technology, understanding the basics is essential. An outdoor dummy camera typically consists of a weatherproof housing that encloses the camera sensor, processing unit, and wireless transmission components. These cameras mimic real security cameras in appearance, luring potential intruders while remaining hidden.
When setting up an outdoor dummy camera, follow these simple steps: select a suitable location offering line-of-sight to the area you wish to monitor; ensure proper placement for optimal motion detection range; connect the camera to a power source using a cable or wireless charging base; and configure the settings on the accompanying mobile app to receive alerts and view live footage. Remember, these cameras rely on wireless transmission, so a stable internet connection is crucial for seamless operation.
Choosing the Right Location for Outdoor Installation
When installing an outdoor dummy camera with motion sensors, selecting the optimal location is key for effective surveillance and functionality. Consider placing it in a visible area where it can observe your property, preferably at eye level or slightly elevated. Avoid hiding it behind trees or structures as this might hinder its field of view. A strategic placement ensures that the camera captures clear footage without any obstructions.
Before installing your outdoor dummy camera, follow these steps: assess the surroundings for potential blind spots, ensure proper lighting to aid motion detection, and verify that the camera has a clear line of sight to the areas you wish to monitor. Regularly check local regulations regarding outdoor surveillance equipment to ensure compliance.
Step-by-Step Guide to Physical Setup
Setting up an outdoor dummy camera with motion sensors is a straightforward process that involves several simple steps. Begin by selecting a suitable location for your camera, preferably in an area with clear visibility and adequate lighting to capture quality footage during both day and night. Ensure the spot offers stable access for future maintenance.
Next, carefully unpackage your wireless dummy camera and motion sensor, checking all components for any damage. Mount the camera on a sturdy tripod or pole at a height that allows for optimal field of view. Position the motion sensor strategically, ensuring it covers the desired area effectively. Connect the camera to its power source using the included cables, ensuring a secure connection. Then, follow the instructions in your user manual to pair the camera with the motion sensor and establish a stable wireless connection between them.
Configuring Motion Sensor Settings and Testing
After installing your outdoor dummy camera, the next crucial step is configuring the motion sensor settings. This involves adjusting the sensitivity levels to ensure it triggers accurately without false alarms. Most cameras allow you to set up different zones and customize detection parameters for each area. For instance, you might want a higher sensitivity near the entrance of your property and lower settings further away to avoid unnecessary alerts. Testing these sensors is essential; simply walk by or create a small movement within the camera’s range to verify its responsiveness.
For an optimal setup, refer to the manufacturer’s instructions for detailed guidance on motion sensor configuration. This process might vary slightly between brands but will typically include setting trigger distances, defining detection patterns, and calibrating the sensors for precise performance. Remember that these settings can be fine-tuned post-installation, so don’t worry if you aren’t perfect from day one; adjustments are easily made through the camera’s user interface.
Wireless dummy cameras with motion sensors offer a robust security solution for outdoor spaces. By following the outlined installation steps, from selecting the ideal location to configuring sensor settings, you can effectively deter potential intruders and protect your property. These simple yet powerful tools help ensure peace of mind, providing both visual deterrence and evidence in case of any suspicious activity. Implement these Outdoor Dummy Camera Installation Steps for enhanced security visibility.