Solar-powered dummy camera setups offer an eco-friendly, cost-effective solution for home security with straightforward installation and advanced features like motion detection. These self-sufficient devices mimic real cameras, deterring intruders without complex wiring. Choose reputable brands, mount in sunny locations, charge regularly, and maintain for optimal performance to enhance security while promoting sustainability.
Looking for an affordable security solution that doesn’t break the bank but still offers reliable protection? Solar-powered dummy cameras are a cost-effective option, providing peace of mind without the hefty price tag. This guide explores the benefits of these innovative devices, from deterring intruders to enhancing your home’s security. We’ve curated a list of top budget-friendly models and provide a step-by-step setup guide, ensuring you can easily install your own solar powered dummy camera system. Learn how to maintain its optimal performance and stay safe.
- Understanding Solar-Powered Dummy Cameras: Their Advantages and How They Work
- Top Affordable Solar Dummy Camera Options to Suit Your Budget
- Setting Up Your Solar Dummy Camera: A Step-by-Step Guide
- Maintenance Tips for Optimal Performance of Your Solar Security System
Understanding Solar-Powered Dummy Cameras: Their Advantages and How They Work
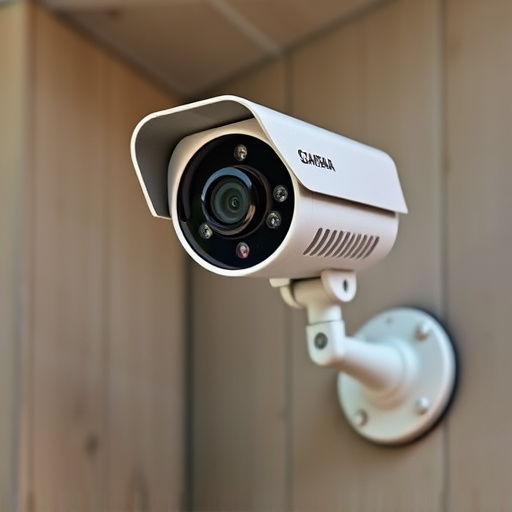
Solar-powered dummy cameras offer a unique and sustainable option for home security, combining environmental friendliness with advanced surveillance technology. These cameras are designed to mimic real security cameras, often featuring a sleek and realistic appearance, but instead of relying on electrical outlets, they harness the power of the sun. This eco-friendly approach not only reduces installation costs but also eliminates the need for frequent battery replacements or complex wiring.
The setup of a solar-powered dummy camera is straightforward. The device typically consists of two main components: the camera unit and a solar panel. The solar panel captures sunlight and converts it into electricity, which powers the camera’s operations, including motion detection, video recording, and wireless transmission of footage. This self-sufficient design allows for easy installation almost anywhere with access to sunlight, providing homeowners with a versatile and cost-effective security solution without the hassle of electrical connections.
Top Affordable Solar Dummy Camera Options to Suit Your Budget
For those on a budget, solar-powered dummy camera setups offer an affordable and efficient security solution. These cameras harness the power of the sun, eliminating the need for costly electrical wiring or frequent battery replacements. With their sleek design mimicking real security cameras, they serve as effective deterrents without breaking the bank.
There are various top-rated options available, catering to different budget ranges. Basic models provide essential features like motion detection and night vision, while more advanced setups include additional functionalities such as two-way audio and cloud storage. When selecting a solar dummy camera, consider your specific security needs and choose a reputable brand that offers reliable performance and customer support.
Setting Up Your Solar Dummy Camera: A Step-by-Step Guide
Setting up a solar-powered dummy camera is a straightforward process that allows you to enhance your home or business security without breaking the bank. Here’s a step-by-step guide to get you started. Firstly, choose a location with ample sunlight exposure, such as a window sill, fence post, or balcony railing. Ensure the area is accessible for charging during daylight hours and observation at night. Next, carefully remove the camera from its packaging and verify that all components—including the solar panel, battery, and mounting hardware—are included. Attach the solar panel to a stable surface facing south (or as close to south as possible in northern hemispheres) to optimize sunlight absorption.
Secure the camera body using the provided mounting hardware, ensuring it’s angled correctly to capture the desired area. Once installed, connect the solar panel to the camera via the included cable and insert the battery. Allow the device to charge fully under direct sunlight for at least 8 hours. After charging, test its functionality by reviewing live footage on your smartphone app or remote view. With these simple steps, you’ll have a reliable and cost-effective security solution in no time.
Maintenance Tips for Optimal Performance of Your Solar Security System
Regular maintenance is key to ensuring your solar-powered dummy camera setup maintains optimal performance. Start by checking the solar panels regularly, cleaning them as needed to remove any debris or dust that could hinder their efficiency. Positioning them in a clear, unobstructed area with direct sunlight will maximize energy production.
Next, inspect the battery at least once a month. Ensure it’s properly charged and functioning correctly. Consider using a battery monitor for continuous tracking. Keep the camera itself clean, too—a quick wipe down can prevent dust buildup that might affect its image quality. Additionally, periodically test all connections to ensure they’re secure, especially during extreme weather conditions.
Solar-powered dummy security cameras offer an affordable, eco-friendly solution for enhancing your home or business security. By understanding their advantages and choosing one within your budget, you can easily set up this sophisticated yet straightforward technology. With regular maintenance, these cameras ensure optimal performance, providing peace of mind and enhanced safety without breaking the bank.