DIY home alarms powered by WiFi offer a flexible, cost-effective, and accessible way for homeowners to secure their spaces. These systems, consisting of a base station, motion detectors, door/window contacts, and a mobile app, provide peace of mind, real-time alerts, and customizable protection. Installation is simple, involving sensor connectivity, internet setup, and control panel configuration via an intuitive app. Regular maintenance includes testing sensors, updating firmware, checking batteries, and securing WiFi with strong passwords to ensure optimal security.
In today’s digital age, safeguarding your home has never been easier with DIY home alarms and security systems enabled by Wi-Fi. This article guides you through the process of understanding, installing, and maintaining these innovative solutions. Discover the benefits of DIY security, explore essential components, and unlock peace of mind by transforming your home into a smart fortress. Learn how to navigate the setup process successfully and ensure optimal performance for enhanced protection.
Understanding DIY Home Alarms and Their Benefits
DIY home alarms have gained significant popularity due to their accessibility and customizable nature. These systems allow homeowners to take control of their security without the need for professional installation, making them an attractive option for those looking to save costs and personalize their protection. With a DIY approach, you can choose from various components like motion sensors, door/window contacts, cameras, and alarms, enabling you to create a tailored system that meets your specific needs.
One of the key benefits is peace of mind. By setting up your own alarm system, you gain a better understanding of your home’s security vulnerabilities and can proactively address them. Additionally, DIY setups often provide real-time alerts via smartphone apps, giving you remote access and control over your property. This level of connectivity ensures you’re always in the loop, whether you’re at home or away, enhancing your overall sense of security.
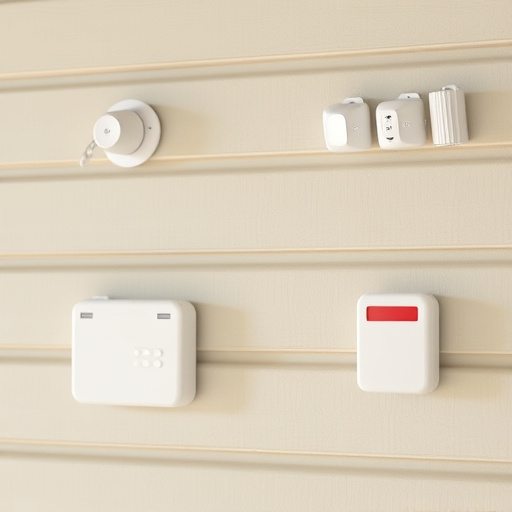
Components of a WiFi-Enabled DIY Security System
A DIY home security system powered by WiFi offers a convenient, flexible, and cost-effective way to protect your space. Core components include a base station that connects to your Wi-Fi network, sensors like motion detectors and door/window contacts that trigger alerts, and a mobile app for remote monitoring and control. Many systems also incorporate smart home integration, allowing you to automate responses via voice assistants or other connected devices.
These DIY home alarms often leverage cloud storage for data backup and continuous monitoring, even when you’re away. They provide real-time notifications on your smartphone, enabling quick response times. Additionally, some models offer features like two-way audio, allowing you to communicate with visitors remotely, and customizable alert preferences to tailor the system to your specific needs.
Installation, Setup, and Maintenance Tips for Success
Installing a DIY home security system with WiFi capabilities is a straightforward process that can empower homeowners to take control of their safety. Start by choosing a system that suits your needs, considering factors like number of sensors, motion detection range, and app connectivity. Once you’ve selected your desired setup, unbox the components carefully and follow the manufacturer’s instructions for assembly. This typically involves connecting sensors to gateways or hubs via WiFi, ensuring a stable internet connection, and configuring the control panel.
Setup is often completed through an intuitive app, allowing you to arm and disarm the system, monitor live feeds (if cameras are included), and receive alerts on your smartphone. Regular maintenance includes testing sensors regularly to ensure accuracy, updating firmware, and checking battery life. Keep WiFi networks secure by enabling encryption and strong passwords, and consider regular updates to protect against potential vulnerabilities in the system’s software.