DIY outdoor security cameras offer a cost-effective way to bolster property safety with 24/7 remote access via smartphones or web browsers. Strategically placing weatherproof cameras with low-light capabilities and motion detection provides enhanced deterrence and peace of mind. Key steps include evaluating specific needs, selecting high-quality components like robust outdoor cameras and reliable sensors, and integrating them wirelessly for easy DIY installation. Regular maintenance involves checking battery life, cleaning lenses, updating firmware, testing feeds, and considering cloud storage plans for continuous monitoring.
“Strengthen your home’s defenses with a DIY outdoor security camera system—a cost-effective, flexible solution for enhancing home security. This comprehensive guide unravels the benefits and fundamentals of integrating these devices into your home alarm setup. From selecting robust equipment tailored to your property’s unique needs to step-by-step installation and maintenance tips, we’ll equip you with the knowledge to create a powerful surveillance network. Elevate your DIY home alarms with outdoor cameras today.”
Understanding DIY Home Security Cameras Outdoor: Benefits and Basics
DIY home security cameras outdoor offer a cost-effective and customizable solution for enhancing your property’s safety. By installing these cameras, you gain 24/7 visibility into your yard, driveway, or entranceways, allowing you to monitor activities and deter potential intruders. One of the key benefits is the flexibility they provide; you can choose camera placement, angle, and field of view to suit your specific needs.
The basics involve selecting a camera designed for outdoor use, which typically features weatherproof housing and enhanced low-light performance. These cameras connect to your home’s Wi-Fi network, enabling remote access via smartphone apps or web browsers. Many DIY systems also integrate with existing home alarms, allowing you to receive alerts when motion is detected and even record footage of suspected activities for later review.
Choosing the Right Equipment for Your DIY Security System
When creating a DIY home security system, selecting the appropriate equipment is paramount. Start by assessing your property’s unique needs and layout. Consider factors like coverage area, number of entry points, and any specific concerns, such as motion detection sensitivity or night vision requirements.
Opt for high-quality components including robust outdoor cameras with clear resolution and infrared capabilities for low-light conditions. Integrate them with reliable sensors and alarms that trigger alerts when motion is detected. Ensure easy installation and connectivity through wireless options or power over Ethernet (PoE) for a seamless DIY experience.
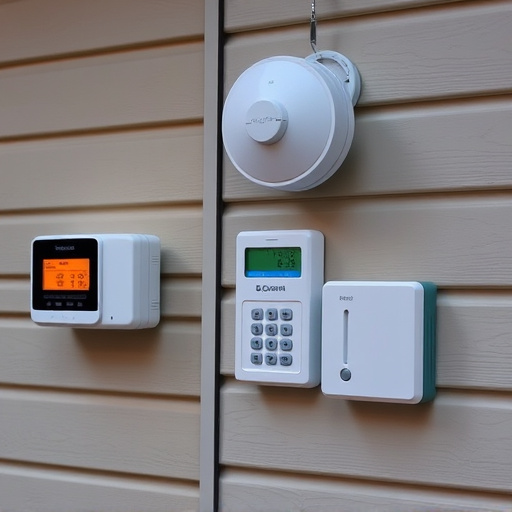
Setting Up and Maintaining Your Outdoor Surveillance System
Setting up a DIY home security camera system for outdoor surveillance is an accessible way to protect your property and gain peace of mind. Begin by choosing cameras suited for external conditions, with weatherproof housing and night vision capabilities. Position them in strategic locations around your property, ensuring clear views of entrances, exits, and potential points of access. Mounting options include walls, fences, or trees, depending on the camera’s design and your specific needs.
Regular maintenance is key to keeping your outdoor surveillance system effective. This involves checking battery life, especially in solar-powered cameras, and cleaning lenses to ensure optimal image quality. Update firmware remotely when possible, and test audio and video feeds regularly. Consider subscribing to cloud storage plans for continuous monitoring and remote access from your smartphone or computer. Regular upkeep will guarantee the best performance of your DIY home alarm system, enhancing your home’s security 24/7.