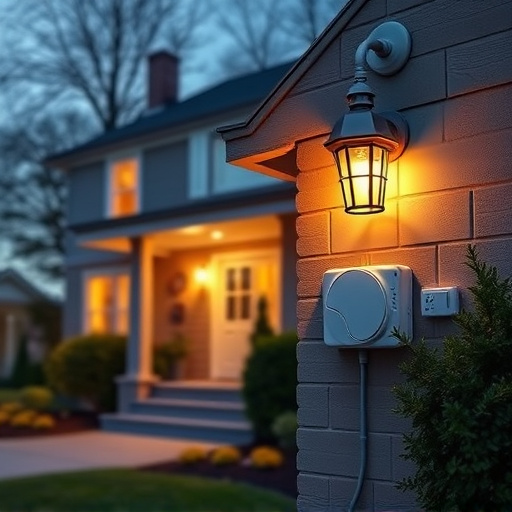
DIY home alarms are a popular choice for homeowners seeking affordable security solutions. Essential components include carbon monoxide (CO) detectors, door/window sensors, motion detectors, and a central control panel accessible via smartphone apps. Strategically placing sensors and following manufacturer instructions during setup ensures maximum effectiveness. Regular testing, maintenance (e.g., battery checks, cleaning), understanding control functions, and firmware updates are crucial for reliable performance and peace of mind.
“Strengthen your home’s defenses with DIY home alarms—an affordable and customizable solution for enhanced security. This comprehensive guide explores how to navigate the world of do-it-yourself (DIY) security systems, with a focus on essential components like carbon monoxide detectors.
Learn about the key elements that constitute a basic DIY home security system, and discover practical installation, maintenance, and safety tips to ensure your peace of mind. Embrace the power of DIY and transform your home into a secure haven.”
Understanding DIY Home Alarms and Carbon Monoxide Detectors
DIY home alarms have gained significant popularity as an accessible and cost-effective way to enhance security. These systems empower homeowners to take control of their safety without the need for professional installation. With a DIY approach, individuals can install sensors, cameras, and alerts at their own pace, tailoring the system to their specific needs. Carbon monoxide detectors are an integral part of any comprehensive home security setup. These devices play a crucial role in ensuring the well-being of residents by detecting elevated levels of carbon monoxide gas, an invisible and odorless killer. By integrating carbon monoxide detectors into your DIY home alarm system, you create a robust safety network that guards against both break-ins and dangerous gas leaks.
Components of a Basic DIY Home Security System
A basic DIY home security system typically consists of several key components that work together to protect your property and family. One crucial element is a carbon monoxide (CO) detector, which serves as an early warning system for toxic gas buildup inside your home—a feature often overlooked but vital for safety. These detectors monitor air quality and alert you when dangerous levels of CO are present, indicating potential risks from faulty appliances or leaks.
Other essential parts include door and window sensors that trigger alarms when unauthorized access is attempted, motion detectors to monitor movement within specific areas, and a central control panel where all these components converge. This panel is the brain of your security system, allowing you to arm and disarm the alarm, set zones, and receive alerts through connected apps on your smartphone or tablet. Completing the setup is often a reliable power source and backup battery to ensure continuous monitoring, even during power outages.
Installation, Maintenance, and Safety Tips for DIY Home Alarms
Installing a DIY home alarm system is an accessible way to enhance security, and carbon monoxide detectors are a vital component. Place these sensors in strategic locations like near bedrooms and living areas for optimal protection. During setup, ensure all components—sensors, control panel, and alarms—are correctly wired or connected as per the manufacturer’s instructions. Test each sensor regularly to guarantee they function accurately.
Maintenance is key to keeping your DIY home alarms reliable. Check battery life and replace them when necessary, following the recommended intervals for each model. Keep the sensors clean and free from obstructions to prevent false triggers. Familiarize yourself with the control panel and programming options, allowing you to customize settings and respond swiftly to alerts. Regularly update firmware if available to benefit from enhanced features and improved security.
