DIY home alarms have gained popularity due to their accessibility, customizable nature, and cost-effectiveness in enhancing property safety. Outdoor security camera installation involves choosing weatherproof cameras with night vision, reliable power sources, and robust mounting systems, along with essential tools like screwdrivers. Clear instructions from the system provider guide mounting and cable organization. Thorough testing ensures optimal coverage, audio, motion detection, and remote access. Regular maintenance includes cleaning lenses, checking battery life, firmware updates, and reviewing recorded footage for peak performance.
“Strengthen your home’s defenses with DIY outdoor security cameras! This comprehensive guide explores everything you need to know about setting up your own surveillance system. From understanding the basics of DIY home alarm systems to identifying essential components and installation best practices, we’ve got you covered. Learn how to create a robust network for monitoring your property, ensuring peace of mind. Get started today and take control of your home’s security.”
Understanding DIY Home Security Camera Systems
DIY home security camera systems have gained immense popularity due to their accessibility and customizable nature. These do-it-yourself (DIY) solutions offer homeowners a cost-effective way to enhance their property’s safety and security. By installing cameras around your house, you create an early warning system that can deter potential intruders and provide peace of mind. Many DIY home alarms come with user-friendly apps, allowing you to monitor live feeds, receive alerts when motion is detected, and even record videos from your smartphone.
These systems are designed to be simple to set up, often requiring minimal tools and no complex wiring. You can strategically place cameras in various outdoor areas like front entrances, backyards, or garages to cover all angles of your home. Additionally, many DIY cameras offer night vision capabilities, ensuring continuous monitoring regardless of lighting conditions. This flexibility and customization make them an attractive option for folks looking to take control of their home security without breaking the bank.
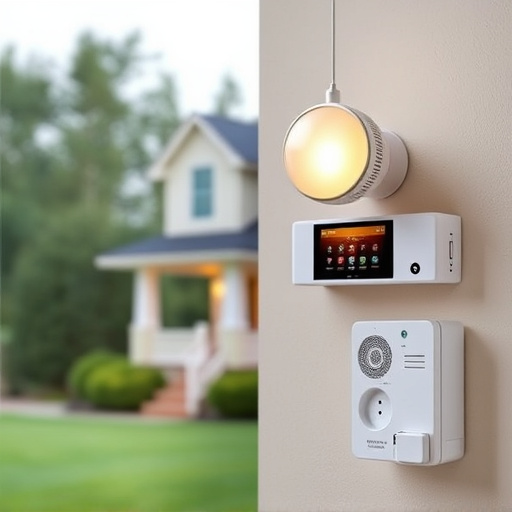
Components and Tools for Outdoor Setup
Setting up an outdoor security camera as part of your DIY home alarm system requires a few key components and tools. Start with a high-quality camera designed for outdoor use, equipped with infrared night vision and weatherproofing to withstand varying conditions. A reliable power source is essential; you can opt for wired cameras connected directly to your home’s electrical system or wireless models that use battery power or solar energy. Additionally, you’ll need a robust mounting system to secure the camera in an ideal location, often on a wall or pole.
The right tools are also crucial for a successful installation. This typically includes screwdrivers, cable ties, and possibly a drill with appropriate bits for creating mounting holes. For wireless cameras, you might need extra batteries, a solar panel (if solar-powered), and a portable charger to ensure uninterrupted operation. Choosing the right components will determine your camera’s effectiveness in deterring potential intruders and providing peace of mind.
Installation, Testing, and Maintenance Tips
Installation:
Setting up an outdoor security camera is a straightforward process when done correctly. Begin by choosing the ideal location—a spot with clear visibility and ample lighting. Mount the camera firmly, ensuring it’s secure from potential tampering. Ensure all cables are neatly organized and hidden to maintain an aesthetically pleasing and effective setup. Many DIY home alarm systems offer easy-to-follow instructions, often including adjustable mounts for different heights and angles.
Testing:
Once installed, thorough testing is crucial. Check the camera’s field of view, ensuring it covers all necessary areas. Test the audio functionality to verify clear communication. Verify motion detection by simulating movement within the camera’s range. Ensure the device connects smoothly to your home network, allowing you to access live feeds and recordings remotely. Regular testing will help identify any issues early on, guaranteeing optimal performance and peace of mind.
Maintenance:
Regular maintenance ensures your outdoor security camera remains reliable. Periodically clean the lens to prevent smudges or debris from compromising image quality. Check battery life, especially for wireless cameras, replacing them as needed. Keep an eye out for any loose connections, and tighten them if necessary. Update firmware when available to access the latest features and bug fixes. Additionally, regularly review recorded footage to ensure its accuracy and make adjustments to motion sensitivity if required.