Maximizing the security of your property with an outdoor dummy camera involves strategic placement and angling. Opt for locations with clear visibility, natural lighting, and minimal obstructions, positioning the camera at eye level or slightly elevated. The Outdoor Dummy Camera Angle Tips emphasize capturing a wide field of view while preserving details below, ideal for monitoring entry points and expansive areas. Regular maintenance, including well-lit surroundings, lens cleaning, and battery care, ensures optimal performance, making your dummy camera a powerful deterrent against intruders.
“Transform your outdoor space with an innovative security solution—the dummy camera red blinking light installation. This comprehensive guide offers a basic understanding of these devices, from their functionality to choosing the ideal outdoor location. Learn expert tips on effective dummy camera angle placement to maximize deterrence. Additionally, discover safety and maintenance practices for ensuring your long-lasting installation remains reliable. Get ready to enhance your property’s security with these valuable Outdoor Dummy Camera Angle Tips.”
- Understanding Dummy Camera Red Blinking Light: A Basic Guide
- Choosing the Right Outdoor Location for Your Installation
- Techniques for Effective Dummy Camera Angle Placement
- Safety and Maintenance Tips for Long-Lasting Installation
Understanding Dummy Camera Red Blinking Light: A Basic Guide
The dummy camera with its distinctive red blinking light is a popular security measure for both indoor and outdoor spaces, offering a simple yet effective deterrent to potential intruders. This guide aims to demystify this device’s basic functions and provide some helpful tips for optimal placement outdoors, enhancing your home or property’s security.
Understanding the red blinking light is key to its effectiveness. When activated, the light serves as a visual alert, flashing to simulate the presence of an actual camera. This strategic deception can deter thieves and vandals, encouraging them to choose easier targets. For outdoor applications, proper placement is crucial. Consider angles that offer a clear view of entry points like doors, windows, or gates, ensuring maximum visibility during the day and night. Use these Outdoor Dummy Camera Angle Tips to strategically position your dummy camera for maximum impact, enhancing your security measures in a subtle yet powerful way.
Choosing the Right Outdoor Location for Your Installation
When selecting an outdoor location for your dummy camera red blinking light installation, consider a spot that offers both clear visibility and natural lighting. Ideal locations include areas near entryways, driveways, or fences, where the camera can effectively monitor activity. The positioning should allow for a wide field of view, enabling the camera to capture potential issues without obstructions from trees, buildings, or other structures.
Think about the outdoor dummy camera angle tips as well; mounting the camera at eye level or slightly elevated provides the best perspective. This ensures that any person or vehicle passing by is clearly within the frame, making it a powerful tool for deterring crime and enhancing security. Additionally, choosing a location with some form of protection from extreme weather conditions will ensure the longevity of your installation.
Techniques for Effective Dummy Camera Angle Placement
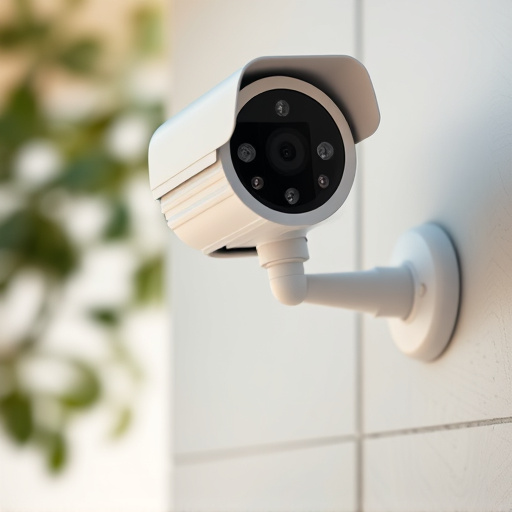
When placing an outdoor dummy camera, angle is key. Positioning it at a strategic angle ensures optimal visibility and coverage. For instance, point the lens slightly downwards to capture a wider area without missing crucial details below. This technique is especially useful for monitoring entry points or large outdoor spaces.
Consider using a tripod or wall mount to secure your dummy camera at the desired angle. Ensure the mount is sturdy enough to withstand varying weather conditions. Additionally, aligning the camera’s view with natural features like trees or buildings can further enhance its effectiveness, providing both aesthetic appeal and comprehensive surveillance.
Safety and Maintenance Tips for Long-Lasting Installation
When installing an outdoor dummy camera with a red blinking light, safety should be your top priority. Always ensure the area is well-lit and visible to deter potential intruders, as this is one of the primary functions of such cameras. Regular maintenance is equally crucial for long-lasting performance. Keep the lens free from debris and dust, as even a small obstruction can significantly impact image quality. Consider using a soft brush or compressed air to clean the camera gently but thoroughly.
For optimal positioning, aim to maintain a strategic outdoor dummy camera angle that offers clear visibility of entry points and common areas. Mounting the camera at eye level or slightly elevated can provide the best coverage. Additionally, keep the blinking light functional by regularly checking batteries or power sources. A well-maintained dummy camera not only enhances security but also serves as a reliable deterrent for years to come.
Install a dummy camera with a red blinking light to enhance outdoor security and deter potential intruders. By understanding the basic guide, choosing the right location, implementing effective angle placement techniques, and adhering to safety and maintenance tips, you can ensure a long-lasting and efficient installation. Remember, proper Outdoor Dummy Camera Angle Tips are crucial for optimal performance and peace of mind.