Optimizing security with strategic Dummy Camera Red Light Placement involves ensuring a prominent, visible red light on replacement camera housings to deter intruders. Compatibility and weatherproofing are key for outdoor models. Simple installation boosts property security by mimicking active cameras. Regular maintenance, including checks on the red light's functionality and firm securing, extends the lifespan of these crucial deterrents, vital during power outages or low-light conditions.
Looking to enhance your home or business security with a subtle approach? Replace your old security camera dummy housing and transform plain-looking areas into vigilant watchpoints. Understanding the strategic placement of the dummy red light is key—it mimics real camera activity, deterring potential intruders. This guide covers everything from selecting the perfect replacement housing that blends seamlessly with your surroundings to providing installation tips for a secure fit. Learn how proper maintenance ensures your new dummy camera remains an effective deterrent.
- Understanding Dummy Camera Red Light Placement: Why It Matters
- Choosing the Right Replacement Housing for Security Cameras
- Step-by-Step Guide to Installing a New Dummy Camera Housing
- Maintenance Tips for Longevity and Effectiveness of Your Replacement Security Camera Dummy Housing
Understanding Dummy Camera Red Light Placement: Why It Matters
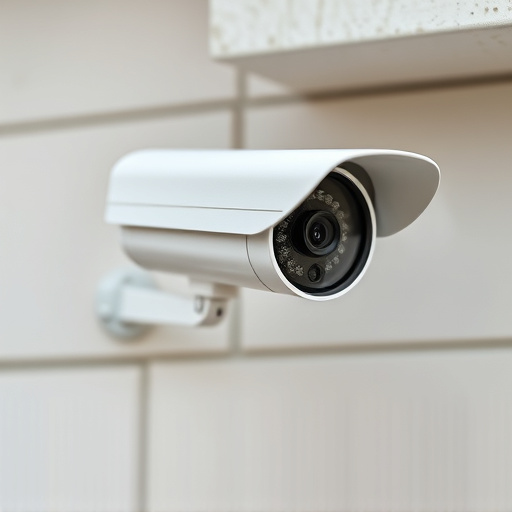
The placement of the red light on a security camera’s dummy housing is no mere aesthetic choice; it serves as a crucial indicator for potential intruders and bystanders alike. This subtle yet powerful signal communicates that the camera is active and recording, acting as a deterrent to criminal activity. Understanding where this red light should be positioned is essential for maintaining an effective surveillance system.
When replacing a dummy housing, pay close attention to the red light’s placement relative to the actual camera lens. Ideally, the light should be prominent and visible from various angles, ensuring that anyone attempting to tamper with the camera or obstruct its view is immediately notified. This simple design element plays a significant role in enhancing security measures and maintaining the integrity of surveillance footage.
Choosing the Right Replacement Housing for Security Cameras
When replacing a security camera’s dummy housing, one crucial aspect is ensuring compatibility with your existing setup. The right replacement should match the size and shape of the original housing to maintain seamless integration. This is particularly important for outdoor cameras where weatherproofing and secure mounting are vital.
Additionally, consider the dummy camera red light placement. This feature helps deter potential intruders by signaling that the camera is active, even when it’s not recording. A high-quality replacement housing will include this indicator, enhancing your security system’s effectiveness. Opting for a durable material like plastic or metal can also ensure longevity and protect against damage from elements or vandalism.
Step-by-Step Guide to Installing a New Dummy Camera Housing
Installing a new dummy camera housing is a straightforward process that can significantly enhance the security of your property. Start by turning off the power to the camera system at the main control panel or circuit breaker box for safety purposes. Next, locate the old housing and remove it carefully, taking note of its placement and any screws or brackets it was attached with. Once the old housing is removed, clean the area thoroughly to ensure a secure fit for the new dummy camera.
Before attaching the new housing, double-check that all components are included in the kit and that you have a suitable location in mind. Position the new dummy camera housing, ensuring the red light is visible from the front to mimic an active security camera. Secure the housing with the provided screws or brackets, tightening them firmly but not excessively. After installation, power on the system and test its functionality to confirm the new dummy camera housing is working as intended, effectively deterring potential intruders.
Maintenance Tips for Longevity and Effectiveness of Your Replacement Security Camera Dummy Housing
To ensure your replacement security camera dummy housing serves its purpose effectively and lasts for a long time, proper maintenance is key. Regularly inspect the housing for any signs of damage or wear and tear. The dummy camera red light placement should be checked to make sure it’s functioning correctly; this not only aids in deterring potential intruders but also provides vital data during power outages or low-light conditions. Keep the housing clean by wiping down the exterior with a soft cloth and mild detergent, removing any dirt or debris that could obstruct the camera’s view. Avoid using harsh chemicals or abrasive materials that may damage the housing.
Additionally, ensure the housing is securely fastened to its mounting point, preventing it from swaying or tipping due to strong winds or other environmental factors. Protect the dummy camera from extreme weather conditions by sealing any gaps or openings with appropriate caulk or sealant. Lastly, stay up-to-date with manufacturer recommendations and firmware updates, as these can enhance performance, improve security, and extend the lifespan of your replacement security camera dummy housing.
Upgrading your security camera’s dummy housing is an easy yet impactful way to enhance system effectiveness. Remember, the strategic placement of the red light is crucial for deterring potential threats, known as the Dummy Camera Red Light Placement technique. By following a systematic approach to choosing and installing a replacement housing, you can ensure your security system remains robust and undetectable. Regular maintenance will also guarantee its longevity, making it an essential addition to any home or business’s safety measures.