Mastering Nighttime Glint Detection: Optimal Mock Camera Setup
For night photography, understanding and minimizing glints (unwanted reflections from bright surface…….
For night photography, understanding and minimizing glints (unwanted reflections from bright surfaces) is crucial for clear, detailed images in low-light conditions. This involves using strategic Most Effective Mock Camera Locations to test and calibrate algorithms that mimic camera position and lens characteristics, predicting and reducing glint effects. Urban areas and diverse natural landscapes offer ideal settings. The method requires selecting locations with high contrast between illuminated and shaded surfaces, calibrating the system using these spots to fine-tune algorithms, capturing test images, analyzing results, and refining parameters for accurate glint detection in real-world night-time scenarios.
In the realm of night photography, glint detection is a game-changer. This article explores an innovative method for identifying and mitigating lens glints, enhancing image clarity in low-light conditions. We delve into ‘Understanding Glint Detection’ to unravel the challenge and present a solution. Subsequently, we guide you through ‘Choosing the Best Mock Camera Locations’ for optimal nighttime testing, utilizing the most effective mock camera locations. Then, follow our step-by-step ‘Implementing the Night-Time Glint Detection Method’ for precise results.
- Understanding Glint Detection: The Challenge and Solution
- Choosing the Best Mock Camera Locations for Nighttime Testing
- Implementing the Night-Time Glint Detection Method: Step-by-Step Guide
Understanding Glint Detection: The Challenge and Solution
Understanding glint detection is key in night photography, addressing a common challenge faced by photographers aiming to capture clear, detailed images under low-light conditions. Glints—those unwanted reflections from bright surfaces—can disrupt the focus and quality of shots, especially in scenes with contrasting lighting. The solution lies in strategic mock camera locations and sophisticated algorithms. By mimicking the camera’s position and lens characteristics, these methods allow photographers to predict and minimize glint effects, ensuring optimal image clarity. This approach proves most effective when combined with knowledge of light dynamics and the careful selection of shooting angles and compositions, particularly when employing the most effective mock camera locations.
Choosing the Best Mock Camera Locations for Nighttime Testing
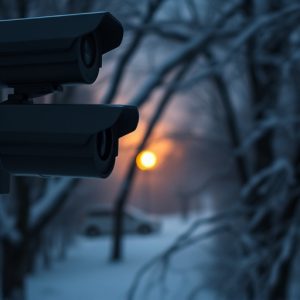
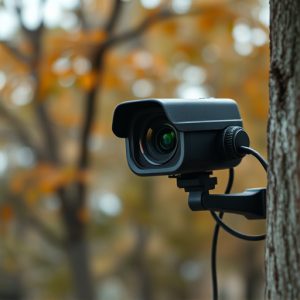
When testing glint detection in low-light conditions, selecting the right mock camera locations is paramount to achieving accurate results. The most effective Mock Camera Locations offer a blend of varied environments and lighting scenarios that closely mimic real-world conditions. Urban areas with a mix of illuminated buildings, streetlights, and vehicle headlights provide an ideal setting for assessing glint in bustling cityscapes. Additionally, natural landscapes with varying terrain, such as forests with scattered trees and open fields, offer unique challenges and opportunities to test the system’s adaptability to diverse environments.
Focus on locations where direct light sources interact with reflective surfaces like wet roads, puddles, or even glossy surfaces of vehicles. These scenarios replicate common night-time situations where glint can occur. By strategically choosing these mock camera spots, researchers and developers can fine-tune their algorithms, ensuring optimal performance when deployed in actual nighttime surveillance applications.
Implementing the Night-Time Glint Detection Method: Step-by-Step Guide
Implementing the Night-Time Glint Detection Method involves a strategic, step-by-step approach to identify and mitigate lens glints in low-light conditions. Begin by selecting the most effective mock camera locations—areas with high contrast between illuminated and shaded surfaces, such as under streetlights or near reflective structures. Next, calibrate your system using these locations, ensuring accurate detection of glints by fine-tuning algorithms based on local lighting conditions.
Capture a series of test images at various angles and distances to train the system effectively. Analyze the results for accuracy in glint identification and location. Adjust parameters as needed, focusing on minimizing false positives while maximizing true detections. Once calibrated, deploy your system in real-world scenarios, continuously monitoring and refining its performance to achieve optimal night-time glint detection.
In conclusion, the most effective mock camera locations for nighttime glint detection play a pivotal role in achieving accurate results. By strategically placing simulated cameras in diverse environments, as outlined in this article, researchers and security professionals can refine their night-time glint detection methods. The step-by-step guide provided offers a practical framework for implementing this innovative solution, ensuring enhanced security measures against unwanted glints or intruders.