Guide to Installing Outdoor Dummy Camera with Light Shell
Outdoor dummy camera systems enhance security by mimicking real surveillance equipment. Effective in…….
Outdoor dummy camera systems enhance security by mimicking real surveillance equipment. Effective installation involves four key steps: choosing a visible location, securely mounting the camera, connecting it to power (wired or rechargeable), and adjusting lighting for 24/7 visibility. Before installing, gather essential tools like a drill, screwdrivers, wire strippers, and measuring tape; mark the desired location, dig holes for screws, prepare cables, and verify tool functionality. Following these steps ensures a robust outdoor dummy camera setup that acts as a powerful deterrent for thieves and vandals.
“Uncover the power of outdoor security with our guide to installing a sophisticated security camera shell featuring integrated lights. This dummy camera system serves as both a deterrent and a powerful tool for enhancing your home or business’s safety. We’ll walk you through each step, from understanding the basics to ensuring a secure setup, providing a comprehensive overview for a successful Outdoor Dummy Camera Installation.”
- Understanding Outdoor Dummy Camera Systems
- Preparation and Tools Required for Installation
- Step-by-Step Guide to Installing Your Security Camera Shell with Lights
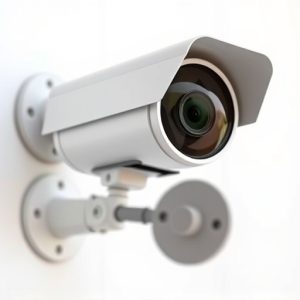
Understanding Outdoor Dummy Camera Systems
Outdoor dummy camera systems, also known as decoy cameras, are an effective deterrent for would-be thieves and vandals. These devices mimic real security cameras, providing a visual warning that your property is under surveillance. Understanding how to install one correctly is key to maximizing its effectiveness. The outdoor dummy camera installation process involves several steps: first, choose a location with clear visibility of the area you want to protect, ensuring it’s strategically placed where potential intruders are likely to approach. Second, secure the camera firmly to a sturdy surface or pole using the provided mounting hardware, making sure it’s stable and won’t be easily damaged or removed. Third, connect the camera to a power source, either through a wired connection for consistent power or a rechargeable battery for portable models. Lastly, adjust the camera’s lighting features—some come with LED lights—to ensure they’re visible during all hours, acting as a constant reminder of the presence of surveillance.
Preparation and Tools Required for Installation
Before beginning the installation process for an outdoor dummy security camera with lights, ensure you have all the necessary tools and components at hand. This typically includes a drill, screwdriver (both flathead and Phillips), wire strippers, a measuring tape, and of course, your new camera system. Proper preparation is key to a smooth installation. Start by marking the exact location where you want the camera to be positioned, ensuring it’s in a visible area that aligns with your security needs.
Next, dig small holes for the mounting screws, as this will make placement more accurate and secure. Use the wire strippers to expose the required length of cables for connectivity, and prepare them according to the installation manual’s guidelines. Ensure all tools are charged or functional, and double-check that your camera’s lights operate correctly. Following these initial steps will set a solid foundation for the successful outdoor dummy camera installation.
Step-by-Step Guide to Installing Your Security Camera Shell with Lights
To install your security camera shell with lights, follow this step-by-step guide tailored for an outdoor dummy camera setup:
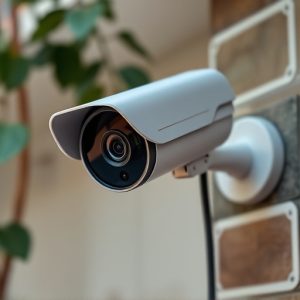
1. Preparation: Gather all necessary tools and components – your security camera shell, lights, screws, and a drill (if required). Ensure your chosen location offers adequate internet connectivity for the camera’s function. Check local regulations to confirm if such a camera is permitted in your area.
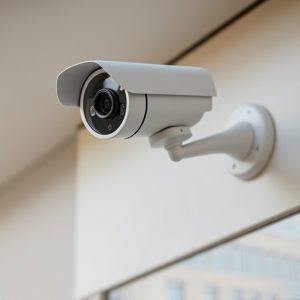
2. Location Selection: Choose a strategic spot, ideally with clear visibility of the area you wish to monitor. Mount the camera shell securely on a wall or pole, ensuring it’s stable and level. For enhanced security, consider placing it at a height that discourages tampering. Connect the camera’s power supply according to the manufacturer’s instructions, typically done via a long cable run from a nearby power source.
Upgrading your outdoor security with a dummy camera equipped with lights is an effective, affordable way to deter potential intruders. By following the outlined steps for an outdoor dummy camera installation, you can easily integrate this device into your property’s defense system. Remember, proper preparation and a systematic approach are key to a successful installation process, ensuring both functionality and peace of mind.