Dummy Dome Camera Installation Guide: Enhance Security with Smart Shells
The Dummy Dome Camera Installation Guide provides a comprehensive step-by-step process for strategic…….
The Dummy Dome Camera Installation Guide provides a comprehensive step-by-step process for strategic camera placement, enhancing security with high-visibility locations and optimal field of view. It emphasizes good lighting, regular maintenance including battery checks and connectivity testing, and an aesthetically pleasing installation. Follow the guide's organized approach for precise, secure mounting using provided tools and materials, ultimately ensuring peak performance of your dummy dome camera as a powerful deterrent and surveillance tool.
Looking to enhance your home or business security without breaking the bank? Consider a Dummy Dome Camera Security System. This comprehensive guide delves into the world of these innovative devices, offering a cost-effective way to monitor your surroundings. From understanding the system’s workings to a detailed step-by-step installation process, we’ve got you covered. Learn what tools and materials are essential and discover the benefits of this smart security solution for peace of mind.
- Understanding Dummy Dome Camera Security Systems
- Preparing for Installation: Tools and Materials Needed
- Step-by-Step Guide to Dummy Dome Camera Installation
- Benefits and Best Practices for Effective Security Monitoring
Understanding Dummy Dome Camera Security Systems
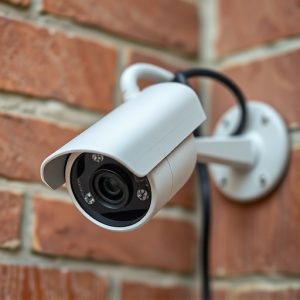
Dummy Dome Camera systems, often considered an effective deterrent for potential thieves, mimic real security cameras with their realistic appearance and strategic positioning. These cameras are designed to blend seamlessly into various environments, making them an ideal choice for both residential and commercial properties. Understanding how to install a Dummy Dome Camera correctly is crucial for maximizing its security benefits. A comprehensive Dummy Dome Camera Installation Guide should cover aspects like choosing the right location—high-traffic areas or those visible from the street—and ensuring the camera’s alignment for optimal field of view.
Proper placement involves considering factors such as lighting, ensuring ample illumination to deter criminals and capture clear footage. Additionally, the guide should emphasize the importance of regular maintenance, including checking the camera’s integrity, battery life, and connectivity to ensure it remains functional and reliable. By following these steps, property owners can effectively enhance their security measures while maintaining an aesthetically pleasing environment.
Preparing for Installation: Tools and Materials Needed
Before tackling a Dummy Dome Camera Installation, ensure you have all the necessary tools and materials to make the process smooth and efficient. A standard kit should include the camera itself, a mounting bracket, screws and anchors suitable for your wall material, electrical tape, and possibly an extension cord (for remote locations). Additionally, consider a power drill with appropriate bits, level, pliers, and safety gear like gloves and goggles.
For a successful Dummy Dome Camera Installation, preparation is key. Use the level to ensure the camera will be straight and centered. Mark the screw holes on your wall, double-checking they align with the bracket’s mounting points. Gather all tools and materials in advance, keeping them organized for easy access during installation. This systematic approach will not only save time but also guarantee a secure and accurate fit.
Step-by-Step Guide to Dummy Dome Camera Installation
Installing a dummy dome camera is a straightforward process that can significantly enhance your home or business security. Here’s a step-by-step guide to help you through the process.
1. Preparation: Start by gathering all necessary tools, including your dummy dome camera, screws, and any other accessories provided with the kit. Ensure the area is well-lit for easy visibility during installation. If needed, use a ladder to reach the desired mounting location.
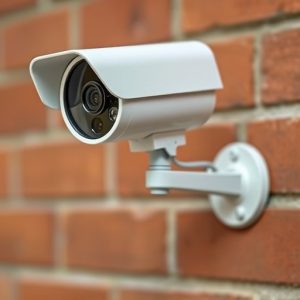
2. Mounting the Camera: Identify the ideal spot for your camera—a high, visible position preferably on a wall or ceiling. Use a drill to create pilot holes, then insert the screws provided with the camera kit to securely mount it in place. Ensure the camera is level and aligned correctly using the included leveling tool.
Benefits and Best Practices for Effective Security Monitoring
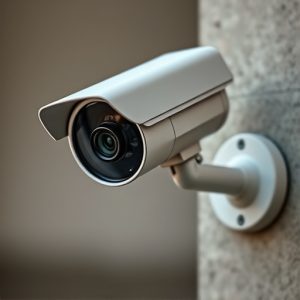
A security camera with lights, often housed in a dummy dome design, offers several advantages for enhancing security monitoring. The visible presence of cameras equipped with illumination features acts as a powerful deterrent to potential intruders, making it a valuable tool in preventing crime and creating a safer environment. Unlike traditional cameras that may be obscured during low-light conditions, the integrated lighting ensures clear and consistent surveillance round-the-clock.
Effective security monitoring requires strategic placement and best practices. When installing a dummy dome camera, consider positioning it in well-lit areas with clear lines of sight. Ensure ample coverage of entry points, doors, and windows. Regularly test and maintain the system to guarantee optimal performance. Additionally, integrating these cameras into a comprehensive surveillance network allows for remote monitoring and real-time alerts, further enhancing response times and overall security.
A well-installed dummy dome camera security system can significantly enhance home or business protection, providing a visual deterrent to potential intruders. Following our comprehensive guide on the Dummy Dome Camera Installation Process, you now possess the knowledge to transform your space into a fortified environment. By combining this DIY approach with regular maintenance and best practices for security monitoring, you’ll create a robust layer of defense that keeps your assets safe. Embrace the power of visual surveillance and take control of your security today!